In tackling DIY roof repair, we offer an in-depth, professional-grade guide tailored to help homeowners confidently handle minor roofing issues before they escalate.
We begin with Steadfast Roofing serving Riverview, FL, setting our standard for safety, precision, and lasting results—essential attributes for anyone stepping onto their roof.
When to Attempt a DIY Roof Repair
We recommend DIY only when the damage is localized, such as a few missing shingles or minor flashing issues without structural compromise. Opting for professional help is advisable if you encounter extensive damage, moisture in the attic, or sections older than 15 years.
Essential Safety Precautions
- Roof Angle: Avoid slopes steeper than 6:12.
- Weather Conditions: Only proceed on dry, calm days.
- Fall Protection: Use a harness and anchor, or secure a sturdy ladder.
- Footwear and Gear: Wear non-slip shoes and gloves; keep the roof surface dry and clear of debris during work.
Tools & Materials Checklist
- Replacement shingles matching style and color
- Roofing nails, hammer or roofing nailer
- Utility knife, pry bar, flat bar
- Galvanized flashing and metal cutter
- Roofing cement, caulk gun
- Roof sealant compatible with shingles
- Measuring tape, chalk line, safety harness
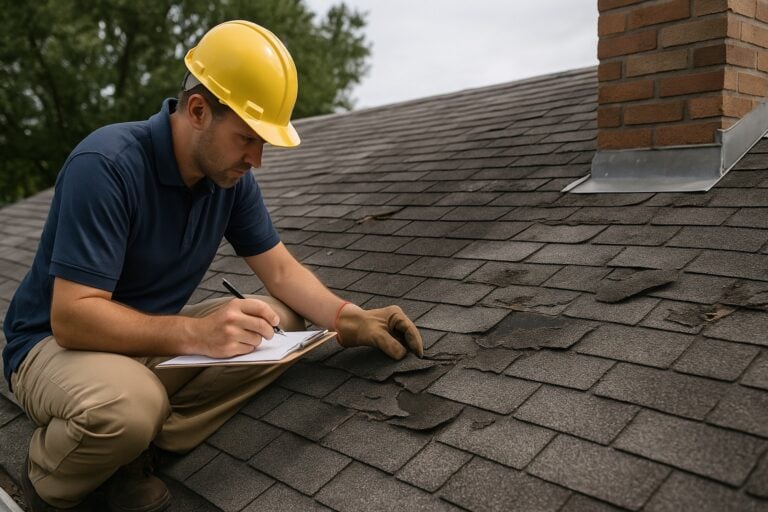
Step 1: Thorough Roof Inspection
- Climb attic to observe evidence of light or water – rot, mold, staining.
- Walk the roof systematically, marking loose, cracked, or missing shingles an inch at a time.
- Note flashing around chimneys, vents, valleys, and gutters for rust, cracks, or premature aging.
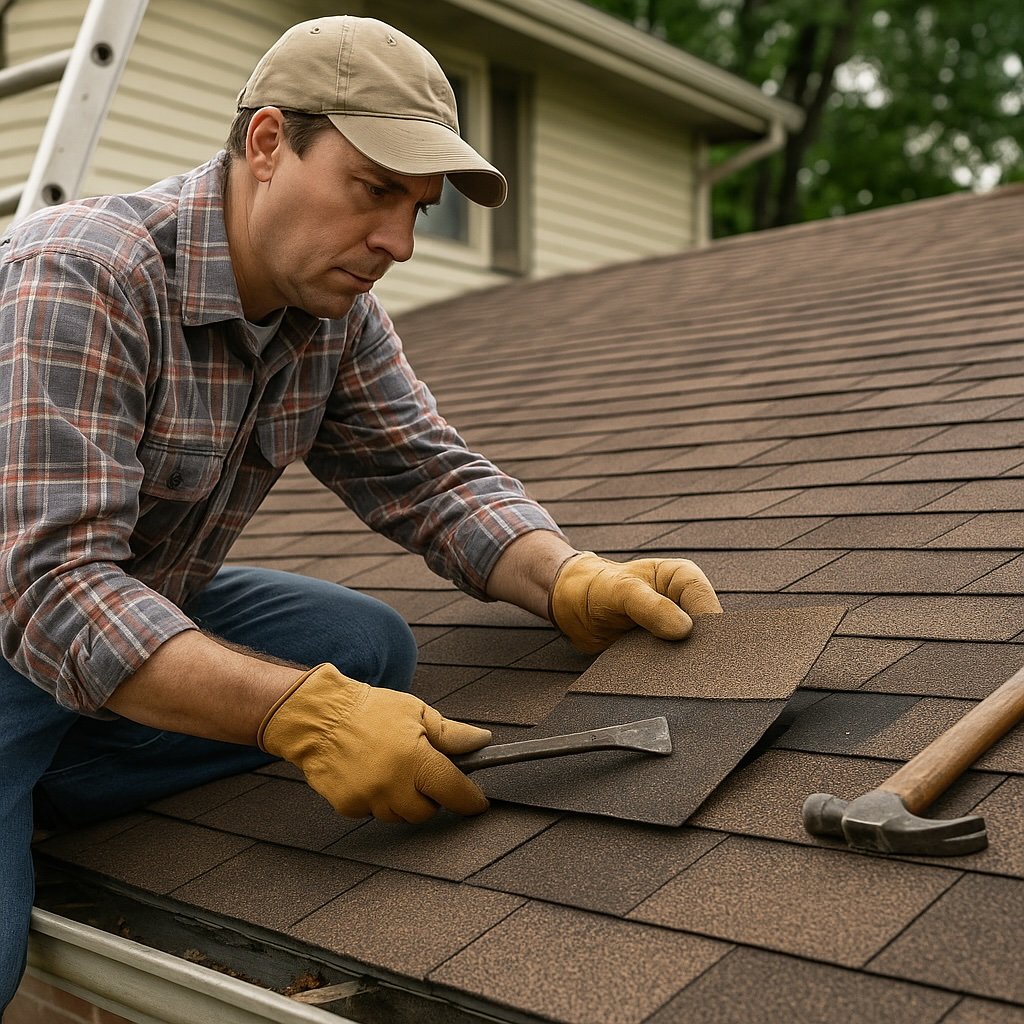
Step 2: Addressing Shingle Damage
- Slide out damaged shingle with a pry bar carefully to avoid deck damage.
- Clean the nail holes and remove old nails.
- Cut a replacement to size, slide into place, align edges.
- Nail securely just above the adhesive strip and press firmly; apply sealant under the head for weather seal.
- Hide exposed nails with compatible roofing cement.
Step 3: Flashing and Metal Work Repair
- Rust or holes: Replace corroded flashing sections using folded laps pointing upward.
- Loose flashing: Remove old seal and fasteners, re-secure with galvanized roofing nails, seal the top edge with caulk.
- Valleys: For metal valleys, replace torn pieces; for woven valleys, heal by integrating the surrounding shingles.
Step 4: Underlayment and Deck Repairs
- Lift surrounding shingles and underlayment.
- Excise damaged sheathing using a saw beyond the affected area into solid wood.
- Fit and screw in a new plywood piece flush with the existing deck.
- Re-shingle the repaired section, ensuring proper flashing and overlap.
Step 5: Sealants and Waterproofing
- Inspect all sealant lines; remove cracked or missing sections.
- Apply new exterior-grade silicone or polymer caulk around protrusions.
- Spread a bead of roofing cement at valley throats and exposed nail heads.
- Cover repaired sections lightly with granule-spreading roofing cement for UV resistance.
Step 6: Final Clean-Up and Routine Maintenance
- Sweep shingles and debris off the roof and gutters.
- Inspect the attic and ceiling three days after rain for leaks.
- Inspect quarterly; trim overhanging branches, remove debris buildup.
- Re-seal or recmail loosened flashing as needed.
Conclusion
A precise, methodical DIY roof repair—when limited to minor shingle, flashing, or underlayment issues—can preserve your roof’s performance for years. Safety, the right tools, and attention to detail are crucial. For anything beyond surface repairs or over-aged roofs, professional evaluation remains the best choice.
Read one of our latest blogs: “Repair vs. Replace Your Roof: A Comprehensive Guide”.