When it comes to tile-roof systems in Florida, proper attachment is everything. At Steadfast Roofing, we’ve seen firsthand how even the highest-quality tiles can fail if they’re not secured correctly. In this guide, we provide a detailed overview of how tile roofs are installed in Florida, explain why the local climate requires precise installation, and discuss which attachment methods are most effective in high-wind zones.
Why Attachment Methods Matter in Florida
Florida’s climate places extraordinary stress on roofing systems. Between scorching UV rays, heavy rainfall, and hurricane-force winds, every roof component must be engineered and installed to withstand these forces. The tile material itself is only part of the equation—the attachment system determines the roof’s real strength and longevity.
A premium tile that isn’t properly attached won’t withstand high winds, so understanding the correct installation method is essential for lasting protection.
Inspection of Structural Deck & Underlayment Before Tile Attachment
Deck and Structure Readiness
Before any tile is placed, the roof deck must be carefully inspected. Clay and concrete tiles are much heavier than asphalt shingles, so any soft spots, sagging, or deterioration in the decking can compromise the system. Repairs or reinforcements should always be completed before installation.
Underlayment as the Second Line of Defense
Underlayment serves as both a moisture barrier and a wind uplift buffer. In Florida, self-adhered or peel-and-stick underlayments are the standard—especially in hurricane-prone areas. These materials seal tightly against the deck and prevent water intrusion even if tiles are damaged or displaced during a storm.
Proper Fastening of Underlayment
Each underlayment layer must be applied with precise overlaps and fastening patterns to meet code requirements. Any misalignment, wrinkles, or improper nailing can weaken the system and reduce its wind resistance. A strong foundation ensures that tile attachment remains secure for decades.
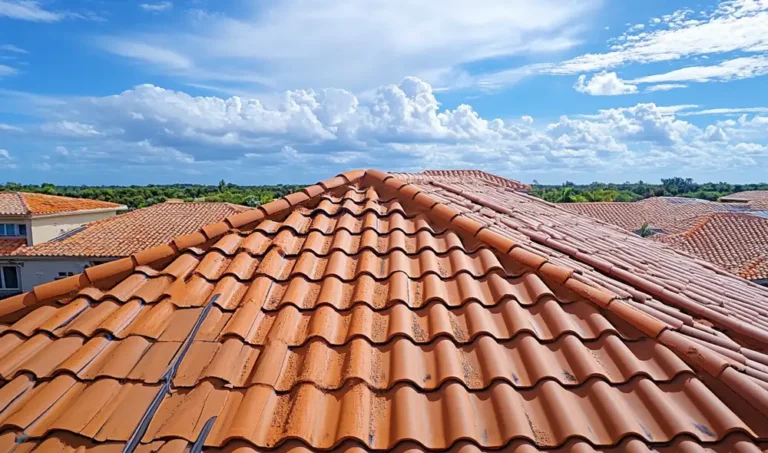
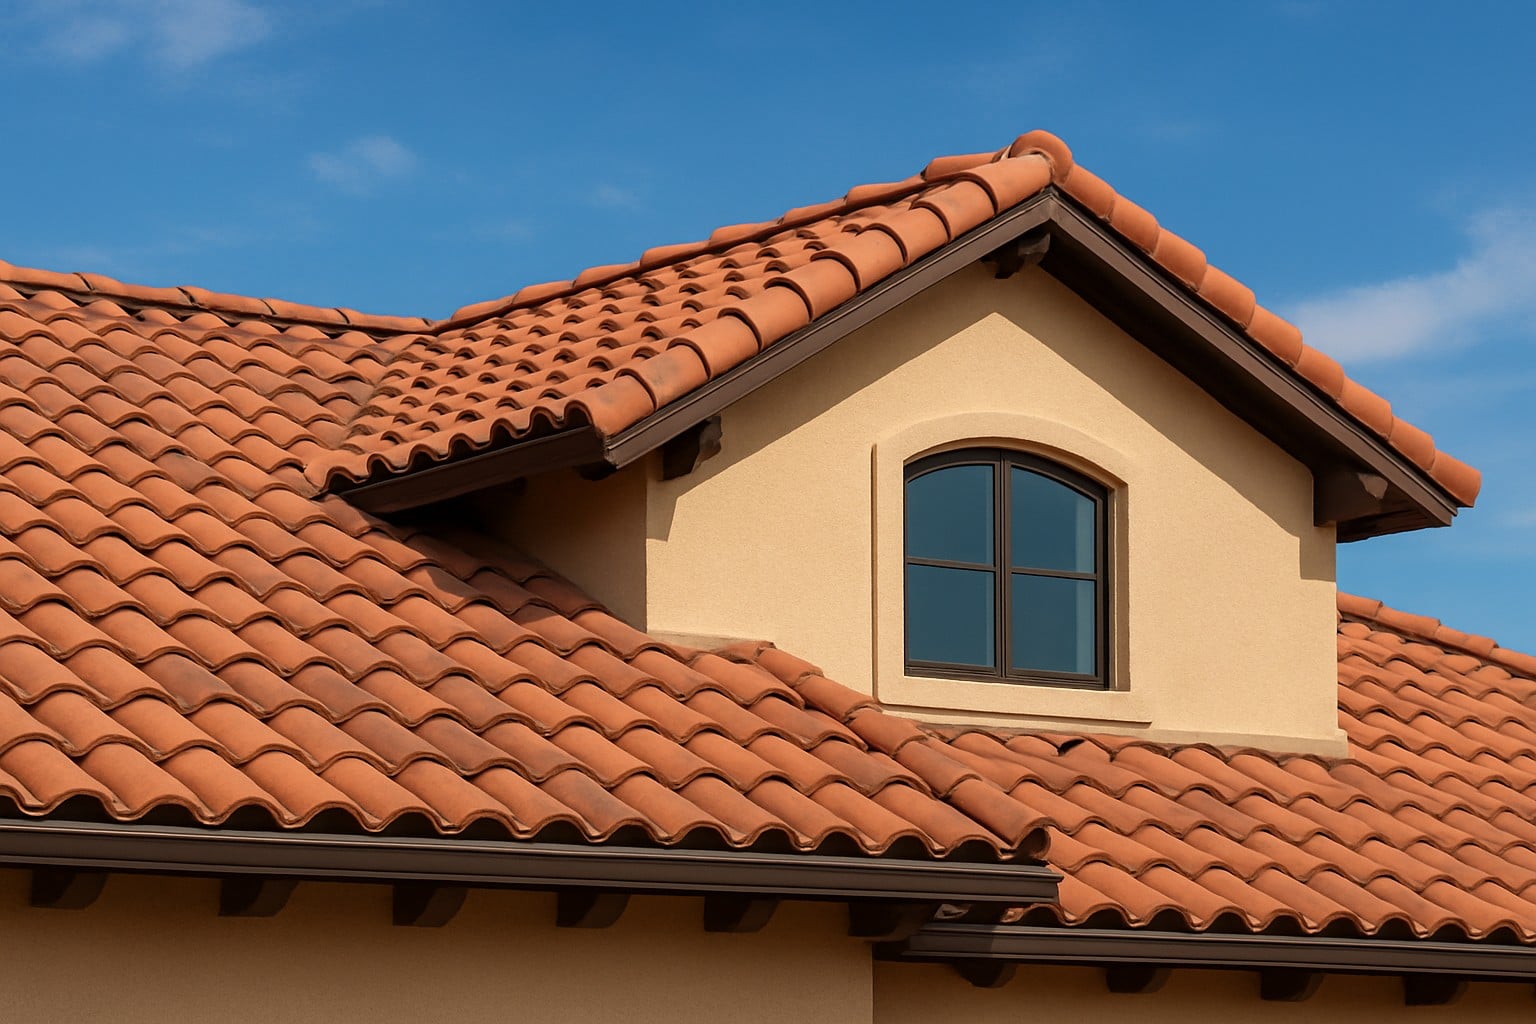
Common Attachment Methods for Tile Roofs in Florida
Tile roofs in Florida typically use one of four main attachment systems. The right choice depends on roof slope, tile profile, and regional wind zone.
Mortar-Set Systems
Traditionally, tiles were bedded in mortar directly on the roof deck. While this method provides a classic appearance, it is not ideal for Florida’s modern wind standards. Mortar tends to crack and lose adhesion over time, allowing tiles to shift or loosen under high stress. For this reason, mortar-set systems are now primarily seen on older homes or in decorative applications, rather than in structural tile installations.
Nail-Down Systems
This older method secures each tile using roofing nails driven through pre-formed holes. It’s still acceptable in some inland regions with lower wind speeds, but nail-only systems can loosen over time. Thermal expansion and storm vibrations may cause the nails to pull slightly, leading to uplift or leaks. Reinforcing nail-down systems with additional clips or adhesives improves performance but still has limitations in hurricane zones.
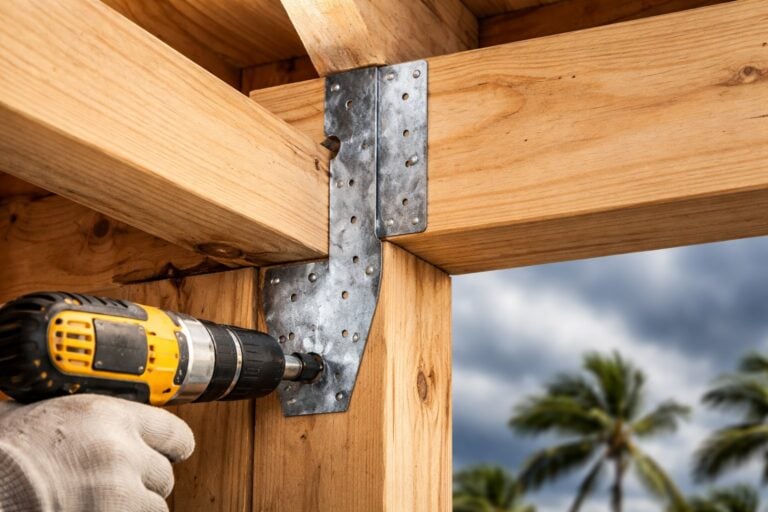
Screw-Down Systems
Screw attachment provides greater holding power than nails and resists corrosion and loosening over time. Stainless-steel or coated screws are used to anchor tiles directly into the deck or battens. This method ensures deep penetration and reduces the chance of tile cracking when pre-drilled properly. It’s an excellent mechanical solution for many Florida homes, particularly those exposed to moderate wind conditions.
Foam-Adhesive Systems
Polyurethane foam-adhesive attachment has become the preferred method across Florida. The foam creates a continuous bond between the tile and underlayment, distributing pressure evenly across the surface. This dramatically enhances wind-uplift resistance and eliminates the need for excessive mechanical fasteners.
Foam can be applied in specific bead or full-coverage patterns, depending on roof design and code requirements. When properly installed, foam-adhesive systems outperform most traditional fastening methods, providing cleaner aesthetics.
Hybrid Systems
Hybrid systems combine adhesive and mechanical fastening to deliver maximum strength and durability. This dual approach is often used on roofs in coastal or high-velocity hurricane zones. Adhesive provides surface bonding, while screws or clips reinforce tiles at the eaves, ridges, and hips—the most vulnerable areas during storms. The result is an ultra-secure system that withstands even the harshest Florida weather.
Step-By-Step Process of Tile Roof Attachment
Step 1: Deck Inspection & Reinforcement
All damaged decking materials are replaced, and structural integrity is verified. The roof must support the heavy load of tile and attachment materials.
Step 2: Underlayment Installation
Peel-and-stick underlayment is rolled out onto the clean deck surface, ensuring proper overlaps. It’s pressed firmly to eliminate air pockets and create a watertight seal.
Step 3: Batten Installation (if used)
Battens—horizontal wood or metal strips—are installed to help align tile courses and provide anchoring points. They also promote airflow beneath the tiles, improving energy efficiency and drying.
Step 4: Starter Course Setup
The first row of tiles at the eave establishes the alignment for the entire roof. These tiles receive extra fastening or adhesive to resist edge uplift.
Step 5: Field Tile Application
Tiles are laid row by row, following chalk guidelines for straight alignment. Each tile interlocks with the one below it, and the chosen attachment system—foam, screws, or hybrid—is applied consistently for secure bonding.
Step 6: Ridge, Hip, and Valley Installation
Special ridge and hip tiles cap the roof’s peak and transitions. These pieces are attached using foam or screws to maintain consistent wind protection. Proper metal flashing is installed around valleys, vents, and roof penetrations to ensure waterproofing.
Step 7: Final Inspection
The final step involves verifying all fasteners, adhesive beads, and ensuring proper alignment. Compliance with the Florida Building Code and local inspection requirements ensures the system meets hurricane-resistant standards.
How Homeowners Can Check Tile Attachment Quality
Even without climbing on the roof, homeowners can spot signs of a proper—or improper—installation:
- Alignment: Tile rows should be straight, even, and uniform.
- Secure Edges: Ridge and eave tiles must be firmly attached with no visible movement.
- No Gaps or Voids: Irregular spacing may indicate poor bonding or missing adhesive.
- Underlayment Proof: Request documentation or photos of underlayment and fastener placement.
- Manufacturer Compliance: All materials and methods must meet the Florida Building Code and the manufacturer’s specifications.
Choosing the Right Attachment for Florida Homes
| Roof Type | Recommended Attachment | Benefit |
| Coastal or high-wind zones | Foam-adhesive or hybrid system | Maximum wind-uplift resistance |
| Inland moderate-wind zones | Screw-down or foam-adhesive | Long-term strength and flexibility |
| Older or budget systems | Screw-down | Cost-effective with reliable performance |
| Curved or low-slope tiles | Foam-adhesive | Prevents cracking and improves adhesion |
Florida’s Building Code Standards for Tile Roofs
After decades of severe storms, the Florida Building Code now includes strict standards for tile-roof attachment. These codes specify allowable fastener types, spacing, adhesive application methods, and uplift resistance ratings. Roofs in high-velocity hurricane zones (like coastal counties) must meet particularly rigorous standards. Choosing a qualified roofing contractor familiar with these regulations ensures your roof not only passes inspection but performs when it matters most.
Long-Term Benefits of Proper Attachment
A well-secured tile roof offers lasting beauty and durability. Proper attachment prevents tiles from shifting, leaking, or detaching during severe weather. It also minimizes long-term maintenance costs and preserves energy efficiency by keeping the roof assembly airtight and stable. With high-quality materials and expert installation, homeowners can expect their tile roof to last 30–50 years or more.
Conclusion
Tile roofs are among the most elegant and enduring roofing systems available—but their longevity depends entirely on proper attachment. By ensuring precise deck preparation, high-quality underlayment, and code-compliant fastening methods, homeowners can enjoy exceptional performance in Florida’s challenging climate. For professional, hurricane-ready tile roofing installation and inspection, trust Steadfast Roofing to deliver craftsmanship that lasts.
Take a moment to read one of our latest blogs: “Why Homeowners Should Schedule a Roof Inspection“.