
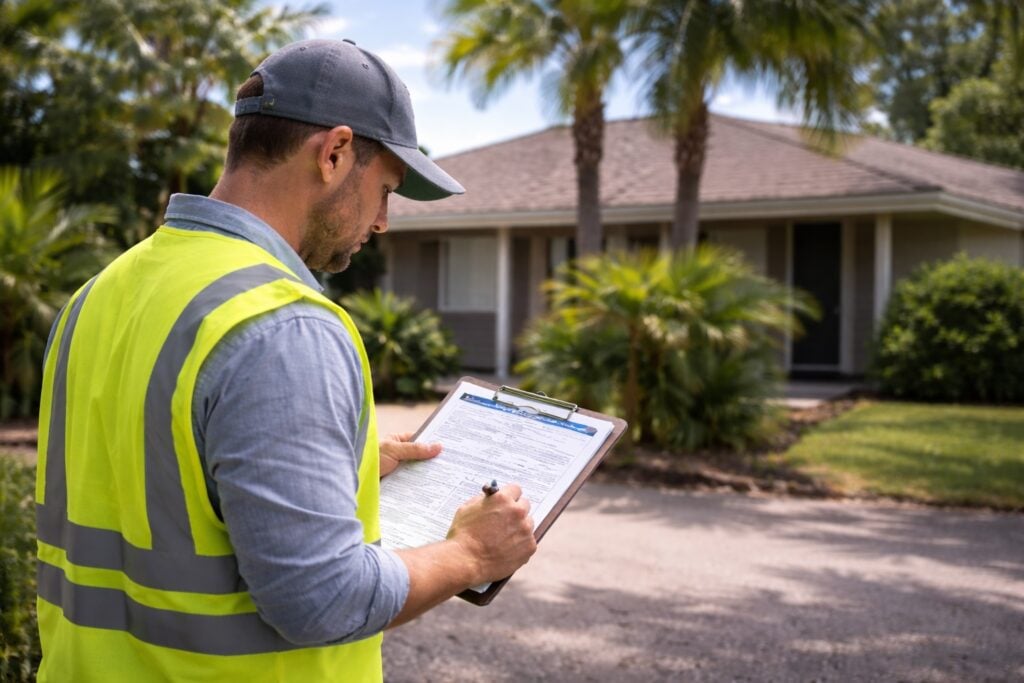
If you’re in Tampa Bay and trying to determine the age of your roof, Steadfast Roofing can confirm it during an inspection and help you document it properly for insurance, resale, or budgeting. Until then, follow the steps below to determine the installation year based on receipts, permits, and physical evidence.
Start With the Fastest Win: Local Roofing Permits by Address
In Tampa Bay, a roof replacement almost always leaves a paper trail through the building department. The permit record is usually the cleanest “date stamp” you can screenshot, print, and hand to an insurer or buyer.
- Hillsborough County: Use the county’s online permit search and look for “Roof” / “Re-Roof” entries under your address via the Hillsborough County permit portal.
- City of Tampa: Check the city’s permitting system for re-roofing and inspections via the City of Tampa permitting portal.
- Pinellas County / St. Pete / Clearwater: Many records are searchable online; start at the Pinellas County Building Services page and follow the permit search links from there.
- Pasco / Manatee / Hernando: Same idea, different portals. Search “(County) permit search by address” and look for re-roof permits plus final inspection dates.
What to look for inside the record:
- Permit “Issued” date (when paperwork started)
- Inspection history (especially “Final” or “Passed”)
- Scope wording (“Replace roof covering,” “Re-roof,” “Shingle,” “Tile,” “Metal”)
- Contractor name (often the key to getting matching invoices/warranty paperwork)
Pull Your Property History Like a Detective (MLS, Disclosures, Appraiser Notes)
If you bought the home in the last 10–15 years, the answer is often hiding in the listing history.
- Old listing photos: Zoom in on roof lines, ridge caps, flashing, and shingle pattern. A “new roof” claim is easy to sanity-check when you can compare photos from different years.
- Seller disclosure: Many Florida disclosures list the roof year, even if it’s approximate.
- Insurance inspection/underwriting documents: Citizens and private carriers often record the roof-covering type and an estimated installation year. If you have an old “wind mitigation” or “4-point,” read it closely.
- County property appraiser sites sometimes mention renovation years. It’s not always roof-specific, but it can support your timeline if it matches permit data.
Call the Roofer That Did It (Even if You Don’t Know Who It Was)
This sounds like a long shot until it isn’t.
How to find the installing contractor:
- The permit record often lists the contractor.
- Look in the attic or garage for warranty packets, leftover shingle bundles, or a contractor business card stapled inside a folder.
- Ask neighbors. Roofers work in clusters. If three homes on your street were re-roofed around the same time, odds are the same contractor did them.
What to ask for:
- Invoice or contract date
- Scope of work (tear-off vs overlay)
- Material type and manufacturer
- Warranty registration confirmation (if it exists)
Read the Roof Like a Pro: Material Clues That Narrow the Age Window
Even without paperwork, roofs tell on themselves. A proper inspection can estimate age based on wear patterns and installation details, but you can spot plenty from the ground if you know what to look for.
Asphalt shingle roofs (most common in Tampa Bay):
- Granule loss: Check gutters/downspouts for heavy granules. Significant granule loss usually indicates an older roof or a roof that’s been degraded by UV exposure.
- Edge curling/cupping: Often occurs as roofs age, especially on slopes that are exposed to afternoon sun.
- Brittleness: If shingles crack easily when handled, the roof is typically well along in its life.
- Algae streaking: Common here due to humidity. Algae alone doesn’t date the roof, but the type of staining and its degree of embedment can support an age estimate.
Tile roofs (concrete/clay):
- The tiles may outlast the underlayment. A “tile roof” can still have an old underlayment underneath.
- Look for lifted or shifted tiles, mortar deterioration, and signs of underlayment failure at valleys and penetrations.
- Permits matter a lot here because the “roof age” might really mean “underlayment age.”
Metal roofs (standing seam or exposed fastener):
- Fastener condition (exposed fastener systems): Backed-out screws and dried/cracked washers suggest age or heat cycling.
- Finish fade/chalking: Strong sun and salt air (especially coastal Pinellas) can speed up visible aging.
- Sealant condition around penetrations: Hardened, separated, or missing sealant can hint at the timeline.
Find the Manufacturer Date Codes (When You Can Safely Access a Sample)
This is one of the most accurate methods when it’s available.
Where date/lot codes might be found:
- On the shingle wrapper (if any bundles were left behind in a garage)
- On underlayment packaging
- Sometimes, on the back of a single spare shingle left at the property
Important reality check:
- A manufacturing date is not the same as an install date, but it usually puts you in the right neighborhood. Most roof installs happen within months of material purchase, not years.
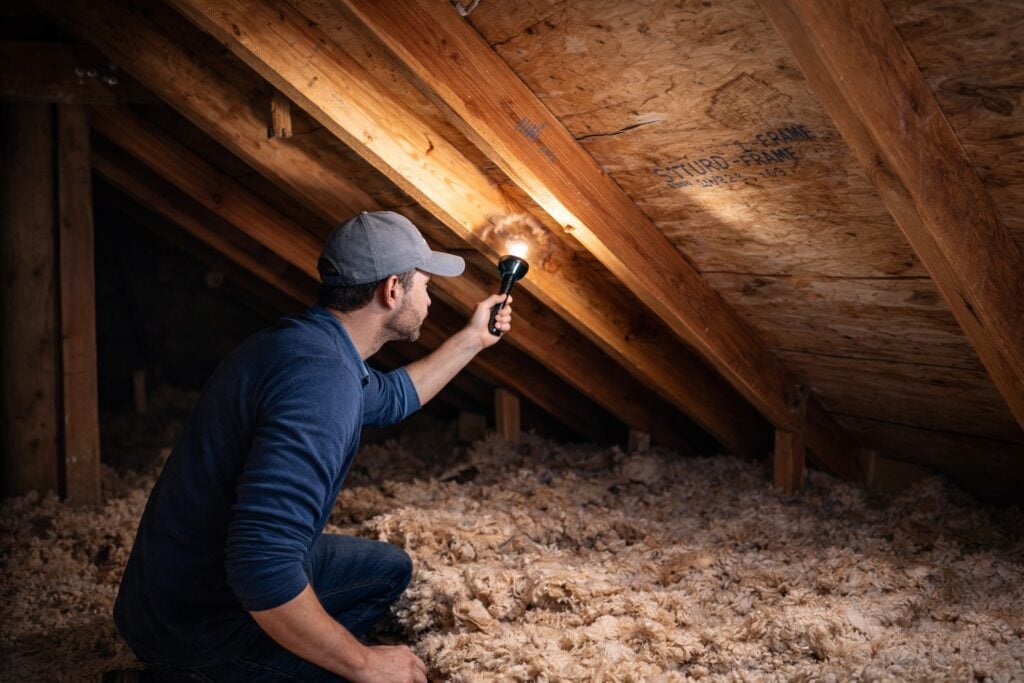
Check the Attic for “Hidden Timestamps”
If you have safe attic access, a few details can help narrow timing.
- Decking stamps: Plywood/OSB often bears ink stamps with mill information and sometimes batch/date markings. It doesn’t guarantee the roof’s age (the decking may be older), but if the decking looks newer than the house and aligns with a re-roof permit, that’s a strong clue.
- Nail patterns and repairs: Fresh decking patches, newer nails, or obvious re-nailing zones can indicate major work.
- Daylight or staining: Not an age stamp, but if you’re seeing staining patterns consistent with long-term minor leakage, the roof may be older than claimed.
Use Aerial and Street-Level Timelines (Yes, Really)
This is the “free and surprisingly effective” method.
- Google Street View: Many homes have multiple years of street images. If you can see the roof plane clearly enough, you can often spot when the shingle color/pattern changed.
- Real estate photos: Old listings sometimes show the roof better than Street View ever will.
- Neighborhood re-roof waves: In Tampa Bay subdivisions built in the late 90s and early 2000s, you can often spot an obvious wave of replacements. If your roof visually matches the “newer wave,” that’s a clue.
Know the Tampa Bay Factors That Can Make a Roof “Age Faster”
Two roofs installed in the same year can look totally different here.
Things that shorten usable life in this area:
- Heat + UV (especially south and west-facing slopes)
- Hurricane seasons and repeated wind events (even “not-a-hurricane” gust days)
- Salt air near the coast
- Poor ventilation that bakes shingles from below
- Tree cover that traps moisture and feeds algae/moss
Translation: don’t rely on a single clue. Stack evidence like a court case.
Build a Simple “Roof Age Proof” Packet (Insurance, Resale, Peace of Mind)
If the goal is to prove roof age to an insurer, lender, or buyer, organize it cleanly.
Include:
- Permit screenshot showing issued date + final inspection
- Contractor invoice/contract (if available)
- Any warranty registration confirmation
- Photos: wide shots + close-ups of field shingles, ridge, valleys, flashings
- A short one-page summary: material type, install year, and what evidence supports it
Conclusion
Finding your roof’s age in Tampa Bay usually comes down to permits first, paperwork second, and physical clues as the tie-breaker. Stack multiple sources, document everything in one packet, and you’ll get to a roof year you can actually defend when insurance, buyers, or budgeting decisions show up.
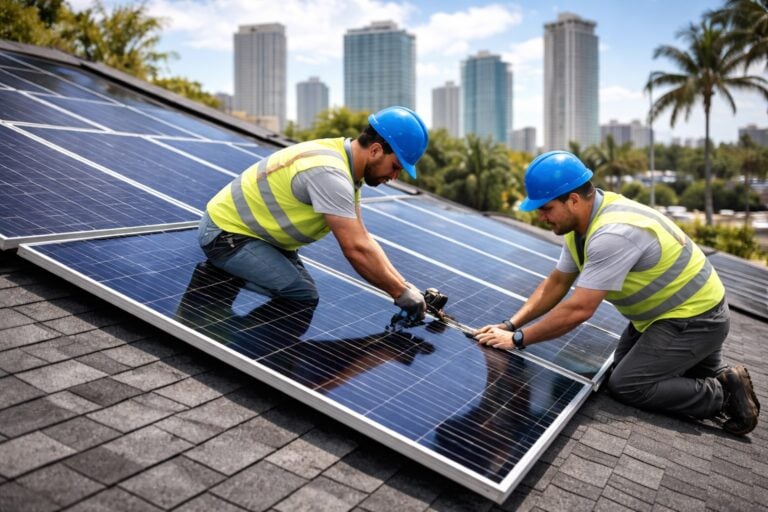
Read our blog: “Is Solar Worth It in Tampa, FL? Costs, Savings, Incentives, and Roof Reality (2026)”.