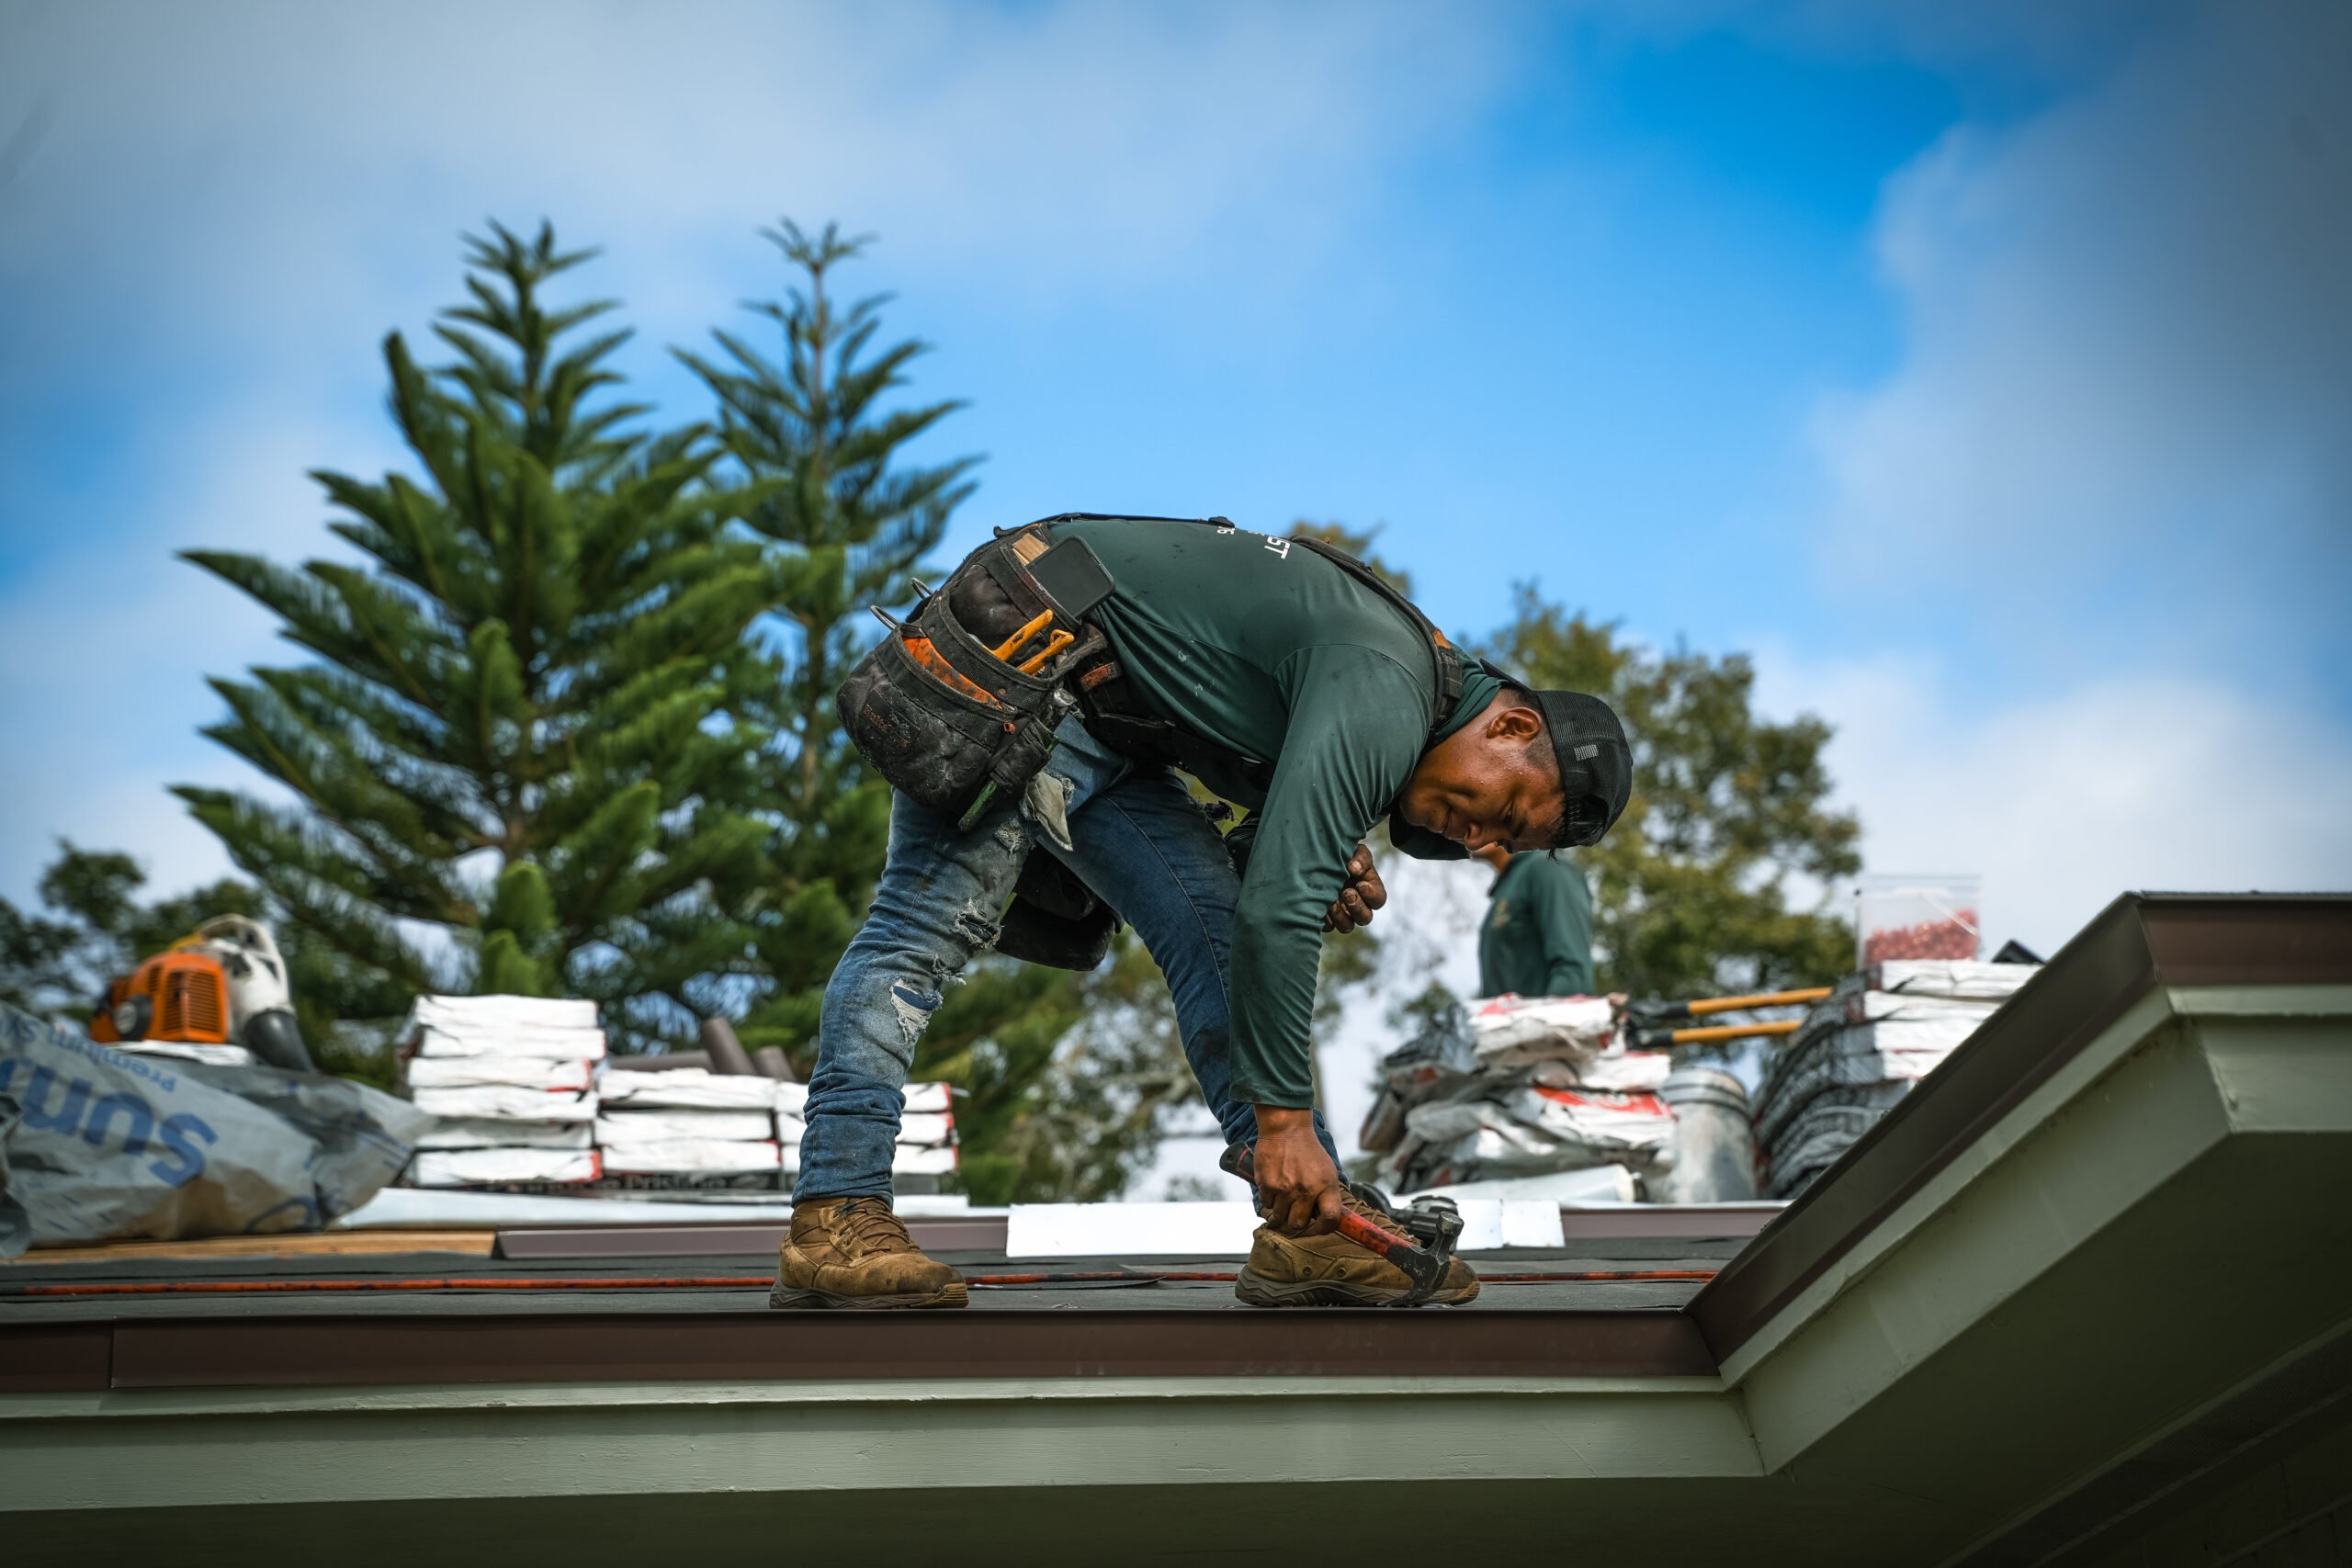
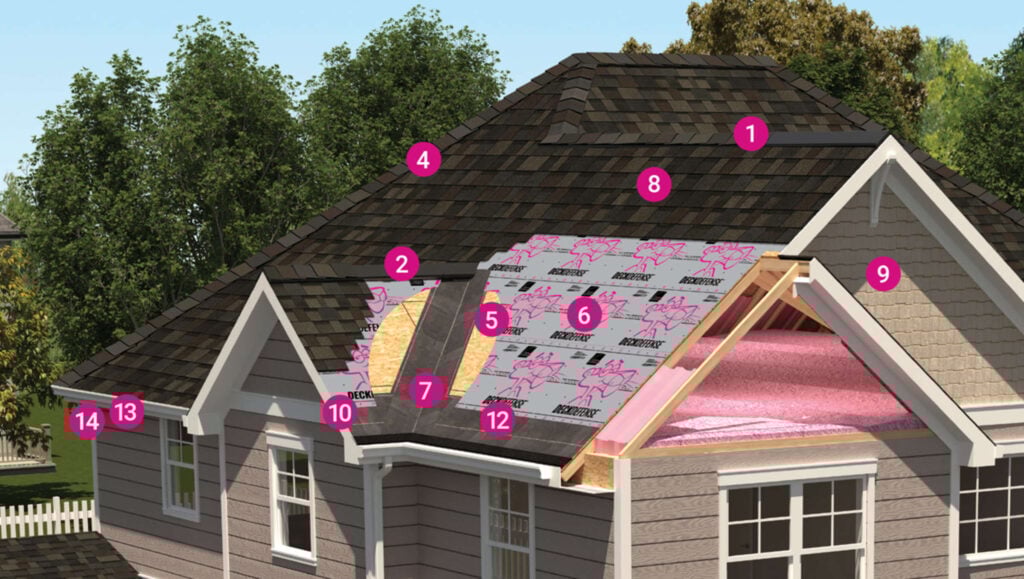
Installing an asphalt shingle roof is a system, not a single product. When we build it the right way, every layer works together: deck, waterproofing, underlayment, starter shingle, field shingles, ventilation, and hip and ridge shingles. In Tampa Bay, we see heat, storms, and wind, so we treat the details like they matter because they do. For homeowners who want the process handled the right way, Steadfast Roofing is one local option that installs full systems, not shortcuts.
Before the Tear-Off: Site Setup, Materials, and Safety
We start by staging materials where they will not crush landscaping or block access. We protect siding, AC units, pool cages, lanai screens, windows, and plants with tarps and plywood where needed. We verify dumpster placement, magnet-sweep plan, and debris routing so the job stays clean.
We also confirm the roof system spec before the first shingle comes off:
- Shingle type, color, and quantity (including waste factor)
- Starter strip type
- Ice and water membrane coverage areas
- MFM seam tape usage locations (seams, transitions, repairs, detail zones)
- Synthetic underlayment type and fastening method
- Flashing scope (step flashing, wall flashing, drip edge, pipe boots, valleys)
- Ventilation plan (intake, exhaust, net free area targets)
- Hip and ridge shingle type and matching accessory requirements
Step 1: Tear-Off and Deck Exposure
We tear off down to the decking so we can see what is real. That means removing:
- Field shingles, hip and ridge caps
- Underlayment felt or old synthetic
- Nails, staples, and abandoned fasteners
- Old vents, if they are being replaced
- Valley metal if the system is being rebuilt
We keep the tear-off controlled to avoid damaging the drip edge, fascia, gutters, and landscaping. We strip in sections, so the exposed deck is not left open longer than necessary, especially if the weather is moving in.
Step 2: Deck Inspection, Repairs, and Surface Prep
Once the deck is exposed, we inspect the wood for:
- Rot, delamination, and soft spots
- Broken or split sheathing
- Nail pull-through and missed framing
- Sagging areas that indicate structural issues
We replace compromised decking and re-secure loose areas. Then we prep the surface so membranes bond and underlayment lies flat:
- Pull remaining nails and staples
- Sweep clean to remove grit and dust
- Address raised edges, ridges, or uneven patches
A clean deck is not “nice to have.” It determines whether self-adhered membranes actually adhere and whether shingles sit flat.
Step 3: Drip Edge at Eaves and Rakes (Where the System Requires It)
We install or replace the drip edge per the roof system design and local requirements. Drip edge controls water at the perimeter, supports the first course, and reduces edge rot. We fasten it straight, tight, and consistent.
Common best-practice sequencing looks like this:
- Eaves: drip edge integrated with the waterproofing plan
- Rakes: drip edge integrated over the underlayment for clean shedding
Exact sequencing can vary by spec and conditions, but the goal stays the same: water exits the roof cleanly without finding wood.
Step 4: Ice and Water Shield in Critical Leak Zones
Ice and water shield (self-adhered membrane) is installed where leaks are most likely to start. Even in warm climates, it is used to protect against wind-driven rain and backup at transitions.
We typically install it in areas like:
- Eaves and lower perimeter zones (system-dependent)
- Valleys (full valley coverage is common for high-risk drainage zones)
- Around penetrations (pipes, skylights, roof-to-wall tie-ins)
- Low-slope transitions where water flow slows
Key details that separate a “membrane exists” roof from a “membrane performs” roof:
- The substrate is dry and clean, so it bonds
- Courses overlap correctly with firm rolling pressure
- Corners are cut cleanly and sealed tightly
- No fish-mouths, wrinkles, or bridging at angles
Step 5: MFM Seam Tape for Seams, Transitions, and Detail Control
MFM seam tape is used to reinforce seams and reduce the risk of water intrusion at layer interfaces. Think of it as a precision tool for the parts of the roof that move, flex, and get hammered by wind-driven rain.
Where we commonly apply MFM seam tape:
- Underlayment laps and critical seams in exposed zones
- Transitions where materials change direction or plane
- Around the detail areas where fastener lines and overlaps stack up
- Repair zones where extra reinforcement is smart insurance
Installation basics that matter:
- Apply to clean, dry surfaces
- Press firmly for full contact, especially at edges
- Avoid stretching the tape, which can cause edge lift later
- Keep it flat with no tunnels or wrinkles
Used correctly, seam tape helps the underlayment behave as a tighter secondary water barrier rather than a loose sheet with vulnerable joints.
Step 6: Synthetic Underlayment Installation
Synthetic underlayment is the roof’s secondary drainage plane. Shingles shed most of the water, but the underlayment is the backup that keeps a bad day from turning into a ceiling stain.
We install synthetic underlayment with discipline:
- Start at the eaves and work upward in straight courses
- Overlap per the product spec, keeping laps tight and consistent
- Fasten with approved cap nails or cap staples (system-specific), spaced to spec
- Keep wrinkles out because wrinkles telegraph through shingles and create wear points
- Seal or reinforce key laps with seam tape when the spec calls for it
We also treat penetrations and transitions carefully:
- Cut around pipes cleanly, never sloppy tears
- Integrate underlayment with flashing layers, not against them
- Maintain shingle-style layering so water always laps over, not under
Step 7: Starter Strip Installation at Eaves and Rakes
The starter strip is not an optional trim. It is part of the wind-resistance system and the first line of sealant that secures the field shingles.
We install a starter strip so it performs:
- Correct direction so the adhesive strip is positioned to bond to the first shingle course
- Proper overhang at the eave and rake for clean water shedding
- Straight alignment so the first course does not drift and create a crooked roof
- Rake starters installed to reduce wind lift along the edge line
Skipping proper starter details is one of the easiest ways to end up with lifted tabs and edge damage later.
Step 8: Asphalt Shingle Installation (Field Shingles)
This is where the roof becomes visible, but the visible layer still depends on everything underneath.
We install field shingles with consistent layout and fastening:
- Snap horizontal and vertical control lines to keep courses straight
- Stagger seams per the shingle pattern requirements
- Maintain correct exposure so the shingle bonds as designed and sheds water properly
- Use the correct nail count and placement, driven flush, not angled, not overdriven, not underdriven
- Keep valleys and sidewalls detailed with the correct flashing method and shingle cuts
High-impact details that separate a clean install from a future callback:
- Every nail is in the manufacturer’s nail zone
- Fasteners penetrate the decking properly and consistently
- Shingles are kept flat, clean, and unscuffed
- Cut edges are clean and aligned, not jagged
Step 9: Flashing and Penetration Waterproofing (Do Not Treat This as “Extras”)
Most roof leaks start at transitions, not in the middle of a shingle. So we treat flashing like a core step, not a side quest.
Common components we install or replace:
- Pipe boots with proper sealing and integration
- Step flashing at sidewalls, correctly lapped with each shingle course
- Counterflashing was required to keep water from running behind the system
- Valley lining and detailing based on the chosen valley type
- Drip edge integration to prevent edge rot and backflow
The standard is simple: every layer overlies the one below, so gravity is always on our side.
Step 10: Ventilation: Balanced Intake and Exhaust
A shingle roof is a thermal system. Ventilation impacts shingle life, attic moisture, and cooling load. We design ventilation as balanced intake and exhaust, not “throw a couple of vents up there and hope.”
We evaluate:
- Existing intake (soffit, under-eave, or edge intake)
- Existing exhaust (ridge vent, box vents, off-ridge vents, powered options)
- Attic size and roof geometry
- Blocked soffits, insulation baffles, and airflow pathways
Typical improvements include:
- Adding a continuous ridge vent with a matched intake
- Replacing undersized or mismatched vents
- Sealing and correcting short-circuit airflow paths that pull air from the wrong places
The target is controlled airflow from low to high, with enough net free area to actually move air.
Step 11: Hip and Ridge Shingles (Caps) for a Finished, Sealed System
Hip and ridge shingles cap the ridgelines and hips while protecting the highest exposure areas. This is a performance layer, not just aesthetics.
We install hip and ridge caps by:
- Using compatible cap shingles designed for the field shingle system
- Nailing with the correct fastener length so that penetration is solid
- Keeping cap alignment straight, with consistent reveals
- Ensuring the ridge vent (if used) is installed correctly under the caps
- Sealing end caps and transitions cleanly so wind cannot get underneath
Ridge work is where rushed crews get sloppy. Done right, it looks clean and holds tight.
Step 12: Final Detailing, Cleanup, and Post-Install Checks
We finish by locking down the last 2 percent that makes the roof feel “done”:
- Sealant checks where the system requires it
- Replace or secure any disturbed accessories
- Verify all vents are properly fastened and flashed
- Confirm lines are straight and courses are consistent
- Magnetic sweep and full cleanup of the property
We also recommend a quick photo documentation set for the homeowner: before, during deck exposure, waterproofing layers, ventilation work, and final roof. It is useful for records, future maintenance, and resale.
Common Installation Mistakes That Shorten Roof Life Fast
These are the repeat offenders:
- Overdriven nails that cut the shingle mat
- Nails too high, missing the nail zone
- Skipping the starter strip or installing it backward
- Wrinkled underlayment under shingles
- Poorly integrated flashing at walls and penetrations
- Ventilation that has exhaust but no intake (or vice versa)
- Sloppy valley cuts and unreinforced seams in critical areas
Material Checklist for a Full Asphalt Shingle Roof System
A practical checklist helps keep the crew and the homeowner on the same page:
- Tear-off tools, debris containment, magnets
- Replacement decking as needed
- Drip edge (eave and rake)
- Ice and water membrane
- MFM seam tape
- Synthetic underlayment
- Starter strip
- Field shingles
- Flashing components (step, counter, valley, boots)
- Ventilation components (intake and exhaust)
- Hip and ridge shingles or ridge caps
- Correct fasteners for each layer
Conclusion
A step-by-step asphalt shingle roof installation is only as strong as its weakest layer. When tear-off exposes the truth, the deck is repaired correctly, ice and water is placed where water actually attacks, seams are reinforced with MFM seam tape, synthetic underlayment is laid tight, starter strip is installed correctly, shingles are nailed in the right zone, ventilation is balanced, and hip and ridge caps are finished clean, the result is a roof that looks sharp and performs when the weather stops being polite.