
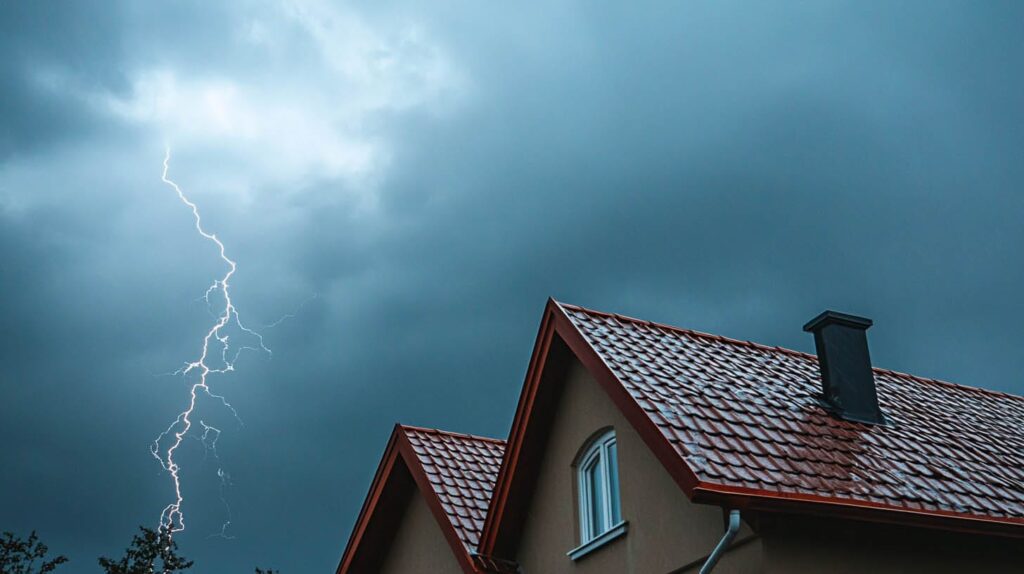
In Riverview, FL, when severe weather strikes, Steadfast Roofing delivers expert installation of storm-resistant roofing systems tailored to our area’s unique coastal demands.
Why Storm-Proofing Matters
Storm-proofing your roof and eaves means reinforcing every weak link — shingles, underlayment, flashing, and structure — to form a unified defense. This strategic approach ensures your roof resists wind uplift, rain intrusion, and debris impact.
1. Thorough Roof & Eaves Inspection
- Inspect shingles for cracking, curling, granule loss, or missing sections; weak areas often begin here.
- Check flashing around eaves, vents, chimneys, and valleys; compromised flashing is a common source of storm leaks.
- Assess the integrity of the underlayment to ensure that secondary waterproofing is continuous and well-installed.
- Evaluate structural connections, including soffits and fascia; softwood or loose boards allow wind uplift at the eaves.
2. Upgrade to a Complete Storm‑Resistant Roofing System
- High-performance shingles: Use impact-rated shingles (Class 3–4) with reinforced nailing zones and strong adhesive strips to protect against hail and wind.
- Synthetic underlayment: Install full-coverage, self‑adhering underlayment up to eaves to seal nail penetrations and block water infiltration.
- Starter and ridge strips: Use premium starter strips at eaves and hips/ridges to prevent wind from seeping beneath shingles.
- Balanced ventilation: Ensure intake (soffit) and exhaust (ridge/box vents) prevent pressure buildup and condensation without risking uplift.

3. Fortify Roof Edges, Flashing & Eaves
- Eave reinforcement: Use corrosion-resistant fasteners on fascia, soffits, and trim, spaced every 6–8” to prevent uplift.
- Flashing enhancements: Apply metal flashings with sealant at all eaves and valleys. Re-secure step and vent flashings with stainless steel nails and install an ice/water membrane beneath.
- Eave rigid boarding: Add solid blocking between rafters at eaves to resist wind uplift and provide substrate for soffit attachment.
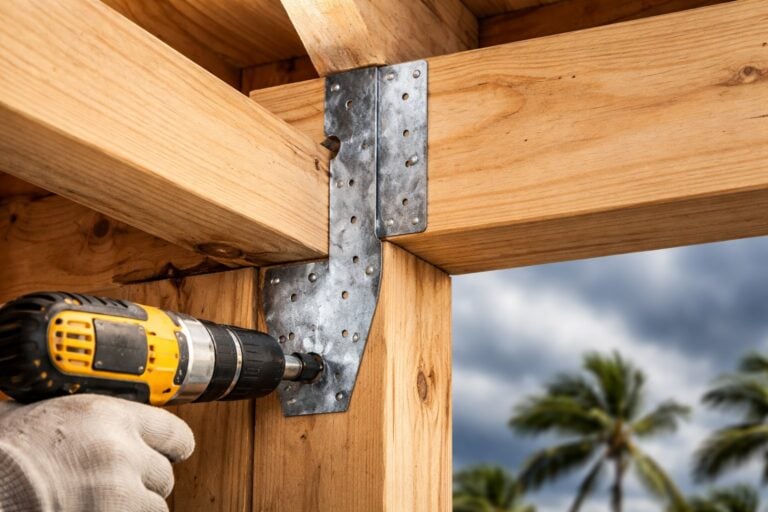
4. Install Hurricane Straps & Clips
- Rafter-to-wall ties: Install exterior hurricane clips or straps between rafters and top plates to create a continuous load path.
- Clip reinforcement in eaves: Embed fasteners deep into rafters and wall plates; these braces combat uplift at vulnerable eaves.
5. Secure Loose Shingles, Soffits & Vents
- Reattach shingles around the perimeter using a 6‑nail application for extra wind resistance.
- Soffits & facia: Strengthen soffits with corrosion-resistant screws. Replace damaged wood and ensure vents are tightly sealed.
- Vent caps: Use wind-resistant attic vent caps and seal around installations to prevent leakage and uplift.
6. Safeguard Gutters & Downspouts
- Clean and reinforce: Remove debris; secure gutters with stainless straps spaced every 30‑36”.
- Extend downspouts at least 4’ from the foundation to manage runoff.
- Gutter guards: Install simple mesh filters to keep large debris out.
7. Emergency Preparation Before Storms
- Pre-storm sealing: Use hurricane tape along eaves and the ridge to block wind penetration.
- Temporary straps: Secure plywood straps from the roof surface to ground anchors, reinforcing newly swept up wind loads.
- Roof tarping: Keep 12‑15 oz tarps, lumber, and fasteners in emergency kits. Cover any suspected leak site, extending past eaves by 12”, fixing securely.
8. Post‑Storm Inspection & Repair
- Safe assessment: After clearing weather, observe from the ground using binoculars. Note missing shingles, dented flashing, or debris.
- Interior check: Examine the attic, ceilings, and walls for stains or signs of dampness.
- Document damage: Photograph all affected areas, noting the date and location before making temporary repairs — essential for insurance claims.
- Engage professionals: Hire licensed contractors to confirm structural integrity, replace underlayment, re-nail all shingles, flashings, and assess fastener embedment.
9. Recommended Materials & Upgrades
| Component | Specification |
|---|---|
| Impact-rated shingles | Class 3/4, polymer-modified, reinforced nailing strip, wind rating ≥ 110 mph |
| Underlayment | Self-adhering, full-deck waterproof |
| Starter & ridge strips | Premium, polymer-reinforced |
| Flashing | Stainless steel or aluminum, sealed all edges |
| Fasteners | 1½–2″ Stainless screws/nails |
| Hurricane straps | Exterior-rated, high uplift strength |
| Vent/soffit seals | Corrosion-resistant screws, wind-tight vents |
| Tarps & hurricane tape | 12 oz tarps; tape rated for high wind |
10. Maintenance & Ongoing Care
- Bi-annual inspections: Check shingles, flashing, fasteners, underlayment, soffits, and gutters before and after storm seasons.
- Clear vegetation: Trim trees 15+ ft from the roof; remove dead wood to avoid impact damage.
- Address wear promptly: Any curling shingle ends or loosened nails should be repaired immediately to prevent water intrusion.
Conclusion
A storm-proof roof and eaves system—incorporating premium materials, structural reinforcement, and proactive maintenance—fortifies your home against Florida’s seasonal storms. With careful planning and execution, we can significantly reduce the risk of wind uplift, leaks, and structural damage.
Read our blog: “Extend the Lifespan of Your Aging Roof: Expert Strategies for Lasting Protection ”.