Starter shingles are the first line of defense at your roof’s edges, sealing the eaves and rakes so wind can’t pry up the first course. For homeowners in Tampa Bay, Steadfast Roofing in Tampa, FL sees this small strip prevents big blow-offs when installed correctly, nailed right, and lapped tight.
Starter Shingles, Plain English Definition
A starter shingle is the first strip installed along the roof edge (the eaves and usually the rakes) before the “field shingles” go on. Its job is simple: create a sealed, sticky edge and an appropriate offset so the first visible shingle course can lock down and shed water as intended.
If field shingles are the armor plates, starter shingles are the hinge and latch that keep the first row from flapping.
Why Starter Shingles Matter in High-Wind Places
Most shingle blow-offs start at the edge. Wind gets under the first course, lifts it, breaks the seal, and then starts peeling like a zipper.
Starter shingles fight that by:
- Putting adhesive where it actually needs to be: right at the edge
- Sealing the first course down: so wind can’t get a bite
- Backing up the drip edge: so water doesn’t sneak under the first row
- Helping shingles meet wind-rating requirements: many manufacturer specs assume proper starters
In stormy areas, starter shingles are not “extra.” They’re the basics.
What a Starter Shingle Looks Like
There are two common starter approaches:
- Factory starter strips (purpose-made): consistent adhesive placement, clean offsets, fast install
- Cut shingles used as starters (job-made): done correctly, it works; done wrong, it causes edge failures
The key is not what it looks like in the bundle. The key is where the sealant strip ends up once installed.
Starter Shingle vs. First Course
People often mix these up.
- Starter shingle: hidden strip at the edge, laid first
- First course (field shingles): the first visible row installed on top of the starter
The starter is there to support the first course, seal it, and set the pattern correctly.
Where Starter Shingles Go on the Roof
Starter shingles typically go in two places:
- Eaves (bottom edges): always
- Rakes (side edges): often recommended, frequently required by best practice, and many high-wind details
Skipping rakes is one of those “looks fine until it doesn’t” decisions.
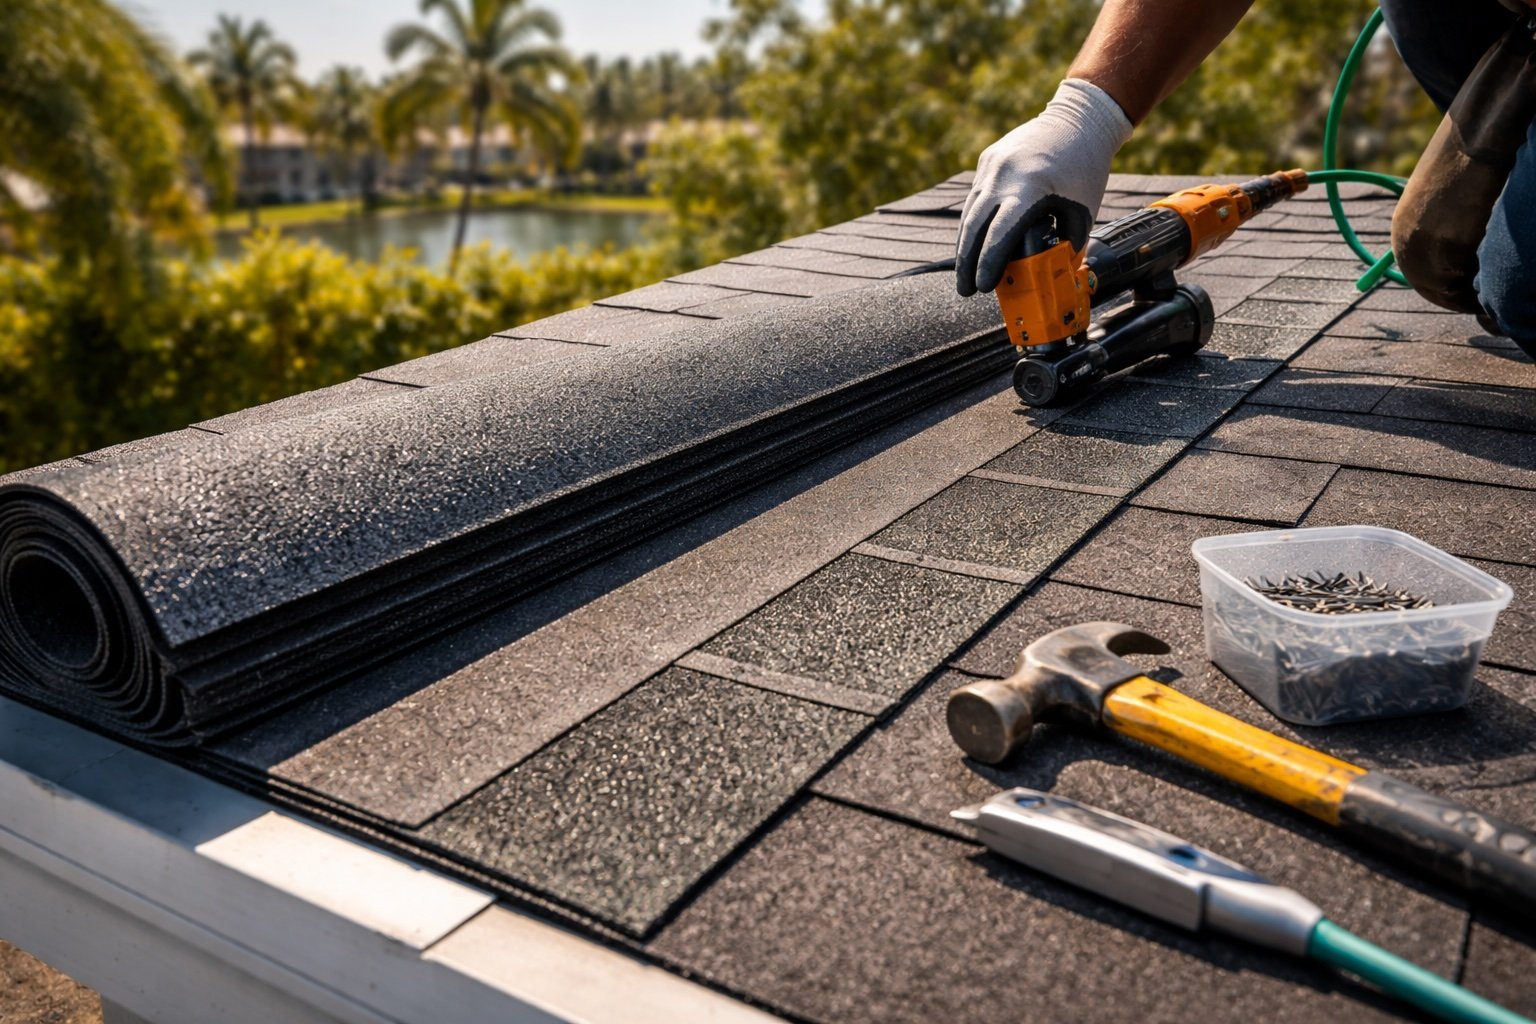
How Starter Shingles Are Installed Step-by-Step
A clean starter install is repeatable and boring, which is exactly what you want on a roof.
1) Prep the edge
Drip edge, underlayment, and any ice/water membrane details should be correct first. Starters are not a band-aid for sloppy edge prep.
2) Choose the right starter orientation
Starter strips have an adhesive band. That band must land where it will bond to the underside of the first course.
3) Overhang and alignment
Typical overhang is small and consistent (often around 1/4” to 3/8”, but follow the shingle manufacturer’s instructions). Too much overhang can sag and crack. Too little can expose edges.
4) Nail placement matters
Nails must be in the correct zone to secure the starter without compromising the seal area. Miss the nailing line, and you can get lifting, blow-offs, or visible edge distortion.
5) Proper laps at joints
Starter joints should be staggered and lapped to prevent water from having a straight path into a seam at the edge.
6) Transition at corners
Corners and rake-to-eave intersections should be tight, overlapped, and sealed per spec. This is a common leak and lift point when rushed.
Common Starter Shingle Mistakes That Cause Problems
These are the edge-failure hall of fame:
- Adhesive strip facing the wrong direction This is the big one. If the sealant is applied in the wrong spot, the first course will not bond properly.
- Using cut shingles but cutting off the wrong side Job-made starters need the right offset and seal placement. Cutting “whatever” creates a fake starter that does nothing.
- No starter at the rakes Side edges take wind pressure too. A rake without a proper starter detail is an invitation.
- Misaligned overhang Wavy overhang looks sloppy and can lead to cracking and water intrusion at the edge.
- Bad nailing: too high, too low, or too few Too high can miss the decking edge zone. Too low can weaken the strip or cause telegraphing. Too few let it lift.
- Seams stacked with field shingles If starter seams and first course seams line up, water and wind find the shortcut.
Can You Use 3-Tab Shingles as a Starter?
Yes, but only if it’s done correctly. Many installers cut the tabs off a 3-tab shingle to make a flat starter strip. It can work because it creates a straight edge and provides sealant.
The catch: the sealant location must be at the edge so the first course can bond to it. If the sealant ends up too far inboard or in the wrong orientation, it’s basically decorative.
Do Architectural Shingles Need Starter Shingles?
Yes. Architectural (laminated) shingles still rely on the starter to:
- provide edge sealing
- prevent exposed joints at the first course
- meet wind uplift requirements tied to the system design
Architectural shingles look beefy, but the edge is still the edge.
How Starter Shingles Affect Warranties and Wind Ratings
Manufacturers rate shingles as a system: underlayment, starter shingles, field shingles, hip and ridge shingles, nails, and sealing patterns all work together. If the starter is wrong, you can end up with:
- reduced wind performance
- edge blow-offs that “shouldn’t happen”
- warranty headaches because installation didn’t follow printed requirements
Even if a roof “looks right,” starter details can be the difference between a roof that survives a blow and one that turns into a yard sale.
Signs a Roof Might Have Starter Shingle Issues
You can’t always see starters directly, but you can spot symptoms:
- lifted edges along the first course after the wind
- shingles that never seem to seal down at the eave
- repeating blow-offs starting from the corners
- visible unevenness or waviness at the bottom edge
- drip edge stains or water tracks near the fascia line
If you’re seeing edge lift, the starter system is a suspect.
Starter Shingles and Florida Heat
Heat helps shingles seal, but it also degrades poor installations. Misplaced adhesive, dirty bonding surfaces, and uneven overhang can all worsen under high temperatures. A correct starter detail seals clean and stays flat.
Conclusion
A starter shingle is the hidden strip that locks down the roof edges, seals the first course, and helps prevent wind-driven blow-offs and water intrusion. The best starter installations get the adhesive placement right, nail correctly, stagger seams, and treat rakes and corners as high-risk zones.
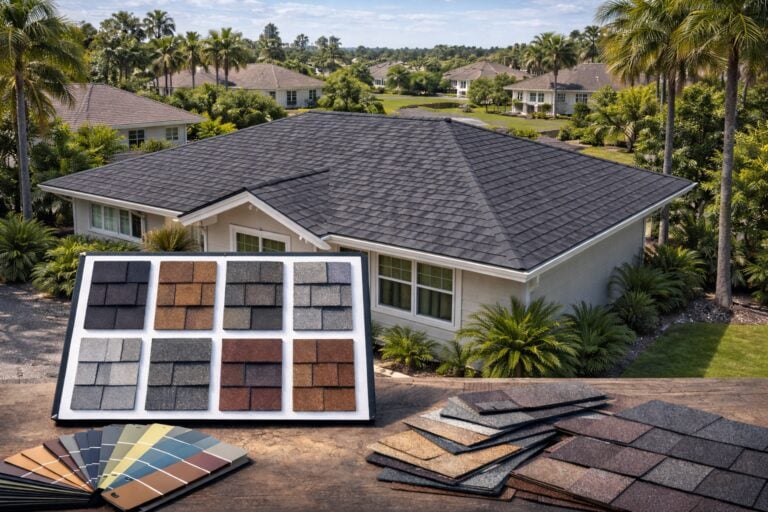
Read our blog: “Premier Guide to Selecting the Most Popular Roof Colors in Tampa Bay: Trends and Performance”.