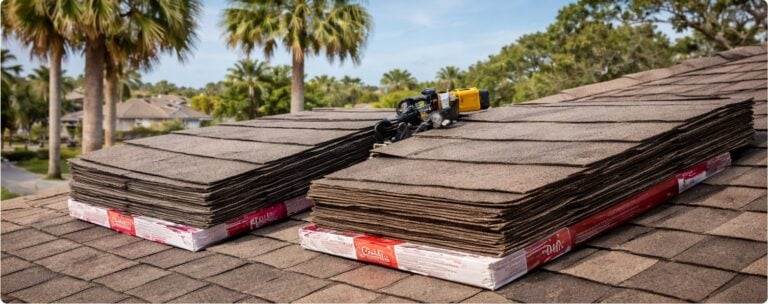
When water channels along your roof’s valleys instead of draining properly, damage can start quietly—only to become costly. We at Steadfast Roofing have seen dozens of cases in Riverview, FL, and beyond. As a trusted roofing company, we believe that understanding roof valleys, spotting early signs of valley damage, and taking prompt, expert action is the smartest path for homeowners.
Here’s how to outsmart valley damage, protect your home, and get peace of mind.
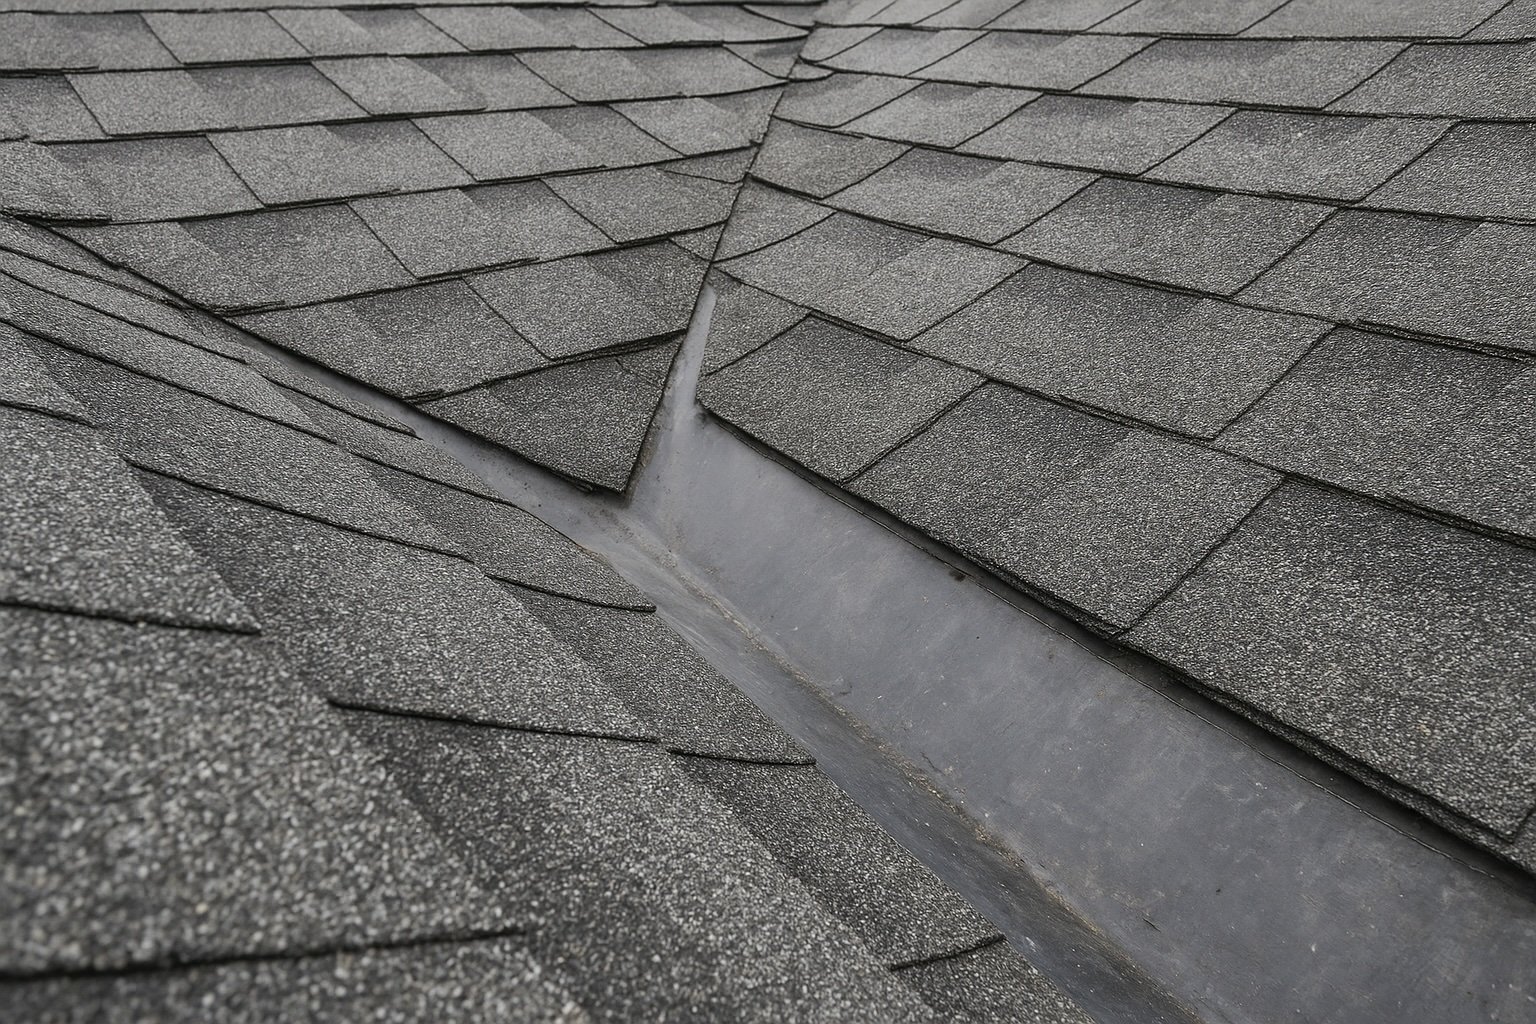
What Is a Roof Valley — and Why It’s So Vulnerable
A roof valley is the V-shaped seam where two roof slopes meet. Its purpose is to collect and redirect runoff toward gutters or downspouts. Because water converges there, valleys are under more stress than flat areas of a roof.
Valleys are vulnerable due to:
- High rainfall concentration — more water volume than adjacent planes
- Flashing complexity — multiple joints, seams, transitions
- Debris accumulation — leaves, twigs, and shingle granules often collect there
- Design errors — poor pitch or abrupt transitions can slow drainage
Even a small flaw in valley construction or maintenance can lead to leaks, rot, and structural damage over time.
Primary Causes of Roof Valley Damage
Design & Installation Defects
Valleys that don’t have sufficient slope or use the wrong flashing techniques are already predisposed to trouble. Unsealed seams, improper overlap, or weak underlayment in valley zones often spell problems down the line.
Aging Materials & Wear
Over the years, shingles near valleys can shrink, curl, lose granules, or crack. Flashing corrodes, sealants degrade, and underlayment can delaminate—each weakening the valley’s integrity.
Debris & Blockage
Valleys are natural collection zones for leaves, branches, and even roofing grit. When water flow is obstructed, pooling and slow drainage can stress shingles and flashing.
Thermal Movement & Expansion
As temperatures shift, roofing materials expand and contract. Repeated stress at valley seams can cause cracks, loosening, or gaps in flashing.
Insufficient Maintenance
Homeowners often neglect semi-annual inspections or skip valley cleaning. Without routine care, minor damages grow until water infiltrates.
Key Signs of Valley Damage Every Homeowner Should Know
Inspect your roof or ask a roofing professional to look for these warning signs:
| Sign | What It Indicates |
| Discolored or rusted flashing | Metal is oxidizing or under water exposure |
| Curling, cracked, or missing shingles along valley edges | Shingles have lost integrity |
| Granules in gutters near the valley | Shingle wear progressing |
| Dark streaks or stains on the valley path | Water absorbs into the underlayers |
| Water stains on ceilings below valley zones | Active leaks are creeping inward |
| Mold, moss, or algae in the valley area | Persistent moisture retention |
| Separation between flashing and shingles | Loose or failed sealing |
Even if damage seems minor, valley issues usually worsen rapidly—addressing them early saves far more in repair costs.
How We Repair Valley Damage — Professional Steps & Best Practices
1. Detailed Roof Inspection & Assessment
We begin with a top-to-bottom evaluation of the valley: flashings, underlayment, shingles, and decking. We may use drones or walk the roof itself to get a full view.
2. Remove Damaged Sections
Any compromised shingles, torn flashing, or deteriorated underlayment are carefully removed to expose the valley substrate.
3. Inspect & Repair Decking
We check the sheathing beneath. If rot or moisture damage has set in, we replace the affected sections before proceeding.
4. Install High-Quality Underlayment
A durable, waterproof underlayment or ice-and-water barrier is placed in the valley region to offer redundant protection against leaks.
5. Rebuild Flashing with Precision
We apply pre-formed valley flashing (e.g., metal valley pans or roll flashing) with exact overlap and sealant. Proper step flashing or W-valley flashing is installed so shingles shed water seamlessly.
6. Lay New Shingles & Seal Edges
Shingles are trimmed neatly to integrate with the new flashing. Edges are sealed with appropriate roofing-grade sealant to ensure leak resistance.
7. Clean & Test
We clear any debris, sweep for stray nails, and simulate water flow to confirm that drainage in the valley is smooth and unobstructed.
8. Final Quality Assurance Inspection
Our roofers conduct a meticulous check post-repair to verify alignment, sealing, slope consistency, and long-term durability.
Preventative Measures to Prolong Valley Health
- Schedule roof inspections each spring and fall
- Clear debris — use a roof rake or blower (never walk in the valley)
- Remove moss, algae, or plant growth promptly
- Maintain flashing joints and seals—recoat sealant every few years
- Avoid installing incompatible roofing overlays
- Trim overhanging trees that deposit debris on the roof
With consistent maintenance, a valley can last as long as the rest of the roof system.
Why Valley Damage Matters for Your Home
Valleys are critical lines of defense. If they fail:
- Water intrusion can reach your attic, walls, and insulation
- Structural rot can weaken framing or decking
- Mold growth poses health risks
- Interior damage — ceilings, walls, and finishes can be destroyed
A valley leak is rarely localized; it often spreads to disrupt large areas of your home.
How to Choose a Roofing Company You Can Trust
A competent roofing company should:
- Demonstrate valley repair experience
- Use premium materials (flashing, underlayments, sealants)
- Guarantee workmanship and materials
- Provide clear inspection reports
- Maintain insurance and licensing
Valley repairs require exacting technique—there’s no room for shortcuts.
Book Your Free Valley Inspection Today
If your roof has valleys—or if you suspect trouble near those seams—don’t wait for leaks to emerge. We offer free, no-obligation valley inspections to Tampa Bay-area homeowners. Let us help you protect your roof’s most vulnerable channels before damage spreads.
Read one of our latest blogs: “Why Is My Residential Roof Leaking? What We Can Do to Identify & Fix It”.