
When preparing for a clay tile roof installation in Florida, your roof needs more than just a quick look‑over. With the weight, weather, and specialized materials involved, getting your roof ready is a careful process that sets the stage for a long‑lasting, watertight tile roof. In the Tampa area, working with pros like Steadfast Roofing means your home gets the preparation it deserves before the first clay tile goes down.
Why Proper Prep Matters for Clay Tile Roofs
Clay tiles aren’t like asphalt shingles. They’re heavier, they sit differently on the roof deck, and they’re meant to last decades. But that longevity only comes if the roof structure, underlayment, drainage, and layout are all spot on before installation starts. Florida’s storms, heat, and humidity make quality prep even more important.
Check and Reinforce the Roof Structure
Clay tile roofs can weigh more than twice as much as typical shingles. Before anything else, we assess whether the roof framing, rafters, trusses, and decking can safely carry that load. If there’s sagging, cracking, or aging wood, it needs reinforcement first.
We look for signs that the structure isn’t ready:
- Sagging rooflines
- Cracks in ceilings or drywall
- Fasteners popping
- Previous water damage
Making sure the roof framing is solid prevents long‑term issues like leaks, shifts, and even collapse under heavy tile weight or hurricane winds.
Strip the Old Roofing and Inspect the Deck
The next big step is removing whatever roof covering was there before. Whether it’s old shingles or another tile, getting down to the bare deck lets us see what we’re really working with. Every square inch matters.
On this step, we:
- Strip all old roofing material
- Inspect the decking boards or plywood
- Look for rot, soft spots, or moisture damage
- Replace any compromised sections
A flat, solid deck ensures tiles sit evenly and reduces noise and movement once the roof is finished.
Install Quality Underlayment
Underlayment is the unsung hero of a tile roof system. It sits between the deck and the tiles, acting as a water‑shedding layer and a barrier against wind‑driven rain.
For clay tiles in Florida, we choose underlayment with these traits:
- Superior waterproofing
- Tear resistance under foot traffic
- Strong attachment through nails or staples
- Good overlap at seams and edges
Some homes also benefit from self‑adhering membranes around roof penetrations, eaves, and valleys for extra protection against water infiltration.
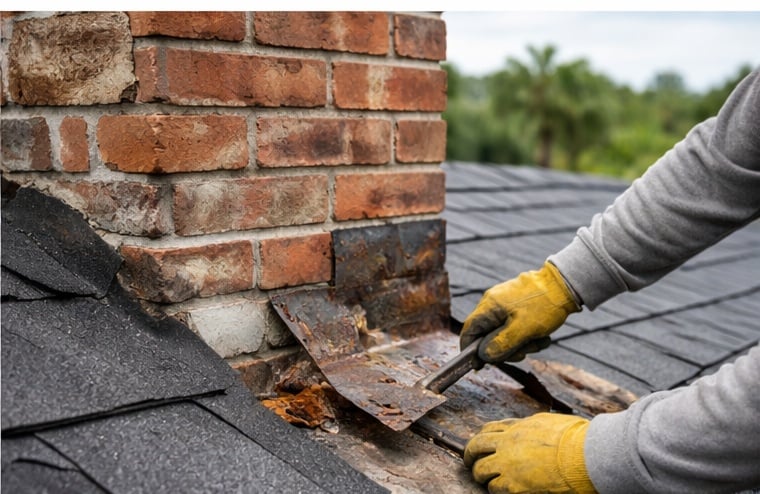
Flashing and Leak Prevention
Before tiles go down, we install metal flashing where the roof meets chimneys, vents, skylights, and other interruptions. Flashing helps channel water off the roof and away from vulnerable spots.
This stage includes:
- Metal flashing around penetrations
- Sealing valleys and pipe boots
- Checking step flashing where the roof meets the walls
Proper flashing prevents water from sneaking in under tiles and bypassing your underlayment.
Planning Tile Layout and Alignment
Clay tiles have to sit in straight, even rows to work correctly. Misalignment or improper overlap can cause water intrusion and early tile failure.
To plan correctly:
- Chalk lines are snapped across the roof surface
- Starter courses are placed at the eaves
- Spacing and overlap are checked against manufacturer specs
This planning phase lays the groundwork (literally) for the beautiful finish that clay tiles are known for.
Battens and Airflow
Some clay tile systems use wooden battens attached horizontally across the roof. These create an air gap that helps:
- Improve ventilation
- Keep tiles from direct contact with the underlayment
- Reduce thermal transfer inside the attic
Battens must be level and spaced precisely to match the tile type being installed.
Final Clean Slate Before Installation
Before the tiles arrive, we do one more thorough sweep of the roof surface. This includes:
- Removing debris
- Power‑washing dust and leftover bits
- Verifying flatness and pitch for water runoff
- Ensuring drainage is directed toward gutters
A clean, level surface is critical. Tiny debris can cause tiles to crack later.
Choosing the Right Tiles and Accessories
Clay tiles come in various shapes, weights, and profiles. Some everyday things to consider:
- Profile type (S‑tile, Spanish tile, flat)
- Weight per square foot
- Color and finish options
- Matching ridge and hip tiles
Accessories such as hip caps, bird stops, and specialized ridge tiles help complete the system and prevent pest and moisture issues.
Weather Timing and Job Scheduling
In Florida, timing matters. Summer storms and hurricane season aren’t ideal for roof prep. Cooler, drier months give crews the best window to prep the roof without unnecessary delays or weather damage.
We plan work around forecasts and seasonal trends to keep the project moving quickly and safely.
Final Pre‑Installation Checklist
Before the installation crew shows up with tiles, we walk through a final checklist:
- Structural supports cleared and reinforced
- Decking replaced and inspected
- Underlayment and flashing are installed correctly
- Layout lines snapped and battens in place
- Roof surface is clean and free of debris
This quality check makes sure everything is ready for tile installation without surprises.
CONCLUSION
Getting your roof ready for clay tile installation isn’t simple. It’s a precise process that sets the foundation for decades of performance. From structure to underlayment to layout, each stage matters. In Florida’s climate, thorough preparation is the difference between a roof that lasts and one that fails too soon.
Take a moment to read one of our latest blogs: “Missing Drip Edge on Roofs: The Hidden Risks and Permanent Fixes”.