

At Steadfast Roofing in Ruskin, FL, we inspect roofs as complete weather-protection systems—not just visible shingles or panels. A useful homeowner roof inspection checklist should cover the roof surface, flashing, penetrations, drainage, roof edges, attic, decking, ventilation, and interior moisture signs. In Florida, heat, UV exposure, wind-driven rain, tropical systems, debris, and humidity can turn a small defect into a leak quickly.
How Often Should Homeowners Inspect a Roof?
We recommend a visual check from the ground and attic about twice a year, plus another review after high winds, hail, tropical storms, hurricanes, or falling-tree impacts. Schedule a professional inspection whenever a leak appears or damage cannot be evaluated safely.
Never climb onto a wet, steep, brittle, damaged, tile, or metal roof without proper training and fall protection. Binoculars, a zoom camera, attic access, and professional drone inspection can reveal many defects without unnecessary roof traffic.
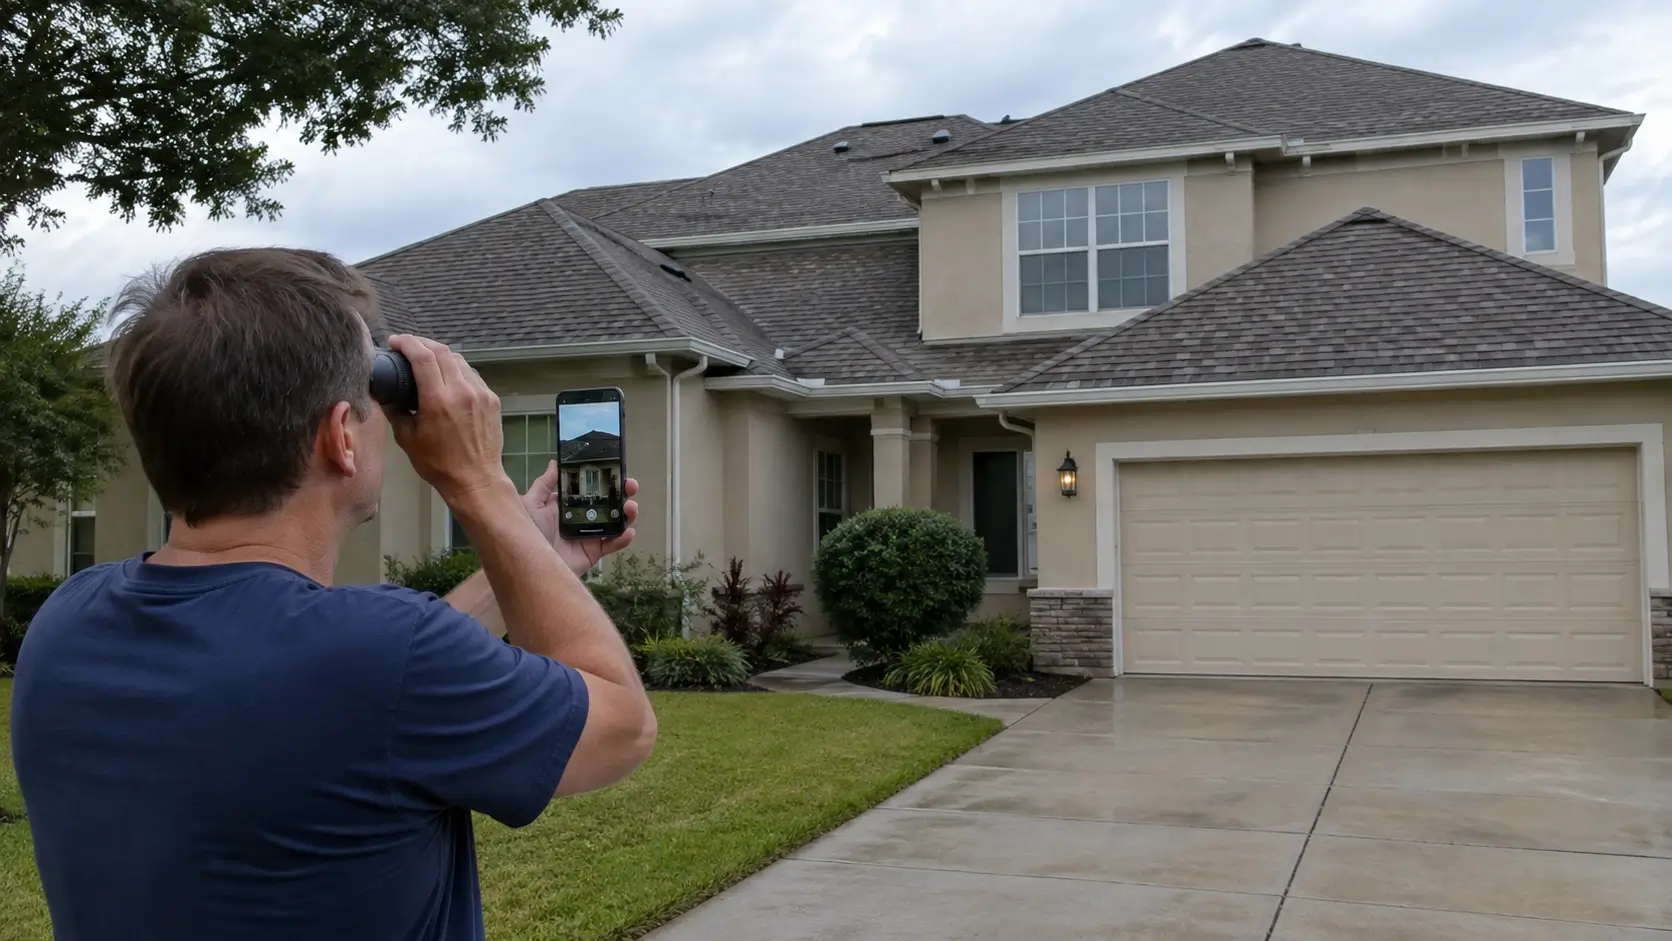
1. Check the Roof Surface From the Ground
View each roof plane from several angles. Early roof damage often appears as a change in alignment, texture, color, or edge position.
For asphalt shingles, look for missing tabs, lifted corners, creases, curling, cracks, exposed fiberglass, bald areas, and concentrated granules at downspouts. Research summarized by the Insurance Institute for Business & Home Safety found that more than 50% of asphalt shingle roofs it studied after Hurricane Ian sustained damage, showing why post-storm checks matter in Florida.
For tile roofs, look for cracked, slipped, displaced, or missing tiles and unusual gaps at ridges, hips, or valleys. Avoid walking on tiles solely to inspect them.
For metal roofs, look for lifted panel edges, displaced ridge caps, loose-looking fasteners, punctures, open seams, and corrosion around cut edges or penetrations.
2. Inspect Flashing, Valleys, and Roof Penetrations
Leaks often begin where the roof changes direction or meets another component. Inspect flashing around walls, chimneys, skylights, vents, plumbing stacks, and roof-to-wall transitions. Warning signs include bent metal, open laps, rust, missing counterflashing, cracked sealant, or visible gaps.
Roof valleys concentrate runoff from two roof planes. Leaves, pine needles, broken tile, or roofing debris can slow drainage. Dead valleys and low-slope transitions should remain clear and show no ponding stains, exposed underlayment, or deteriorated flashing.
Check pipe boots for split rubber collars, brittle seals, corrosion, or exposed fasteners. If a penetration appears damaged, use a professional roof inspection rather than treating surface caulk as a permanent repair.
3. Check Gutters, Drip Edge, Fascia, and Soffits
Gutters should not sag, overflow, pull away from fascia, or remain packed with debris. Downspouts should discharge water away from the structure, while drip edge should remain straight and secure along eaves and rakes.
Inspect fascia for soft wood, peeling paint, open joints, or staining. Check soffits for missing panels, loose sections, impact damage, pest openings, and water marks. A Florida Building Code roofing fact sheet notes that hurricane investigations found widespread soffit failures and explains that failed soffits can allow wind-driven rain into the attic.
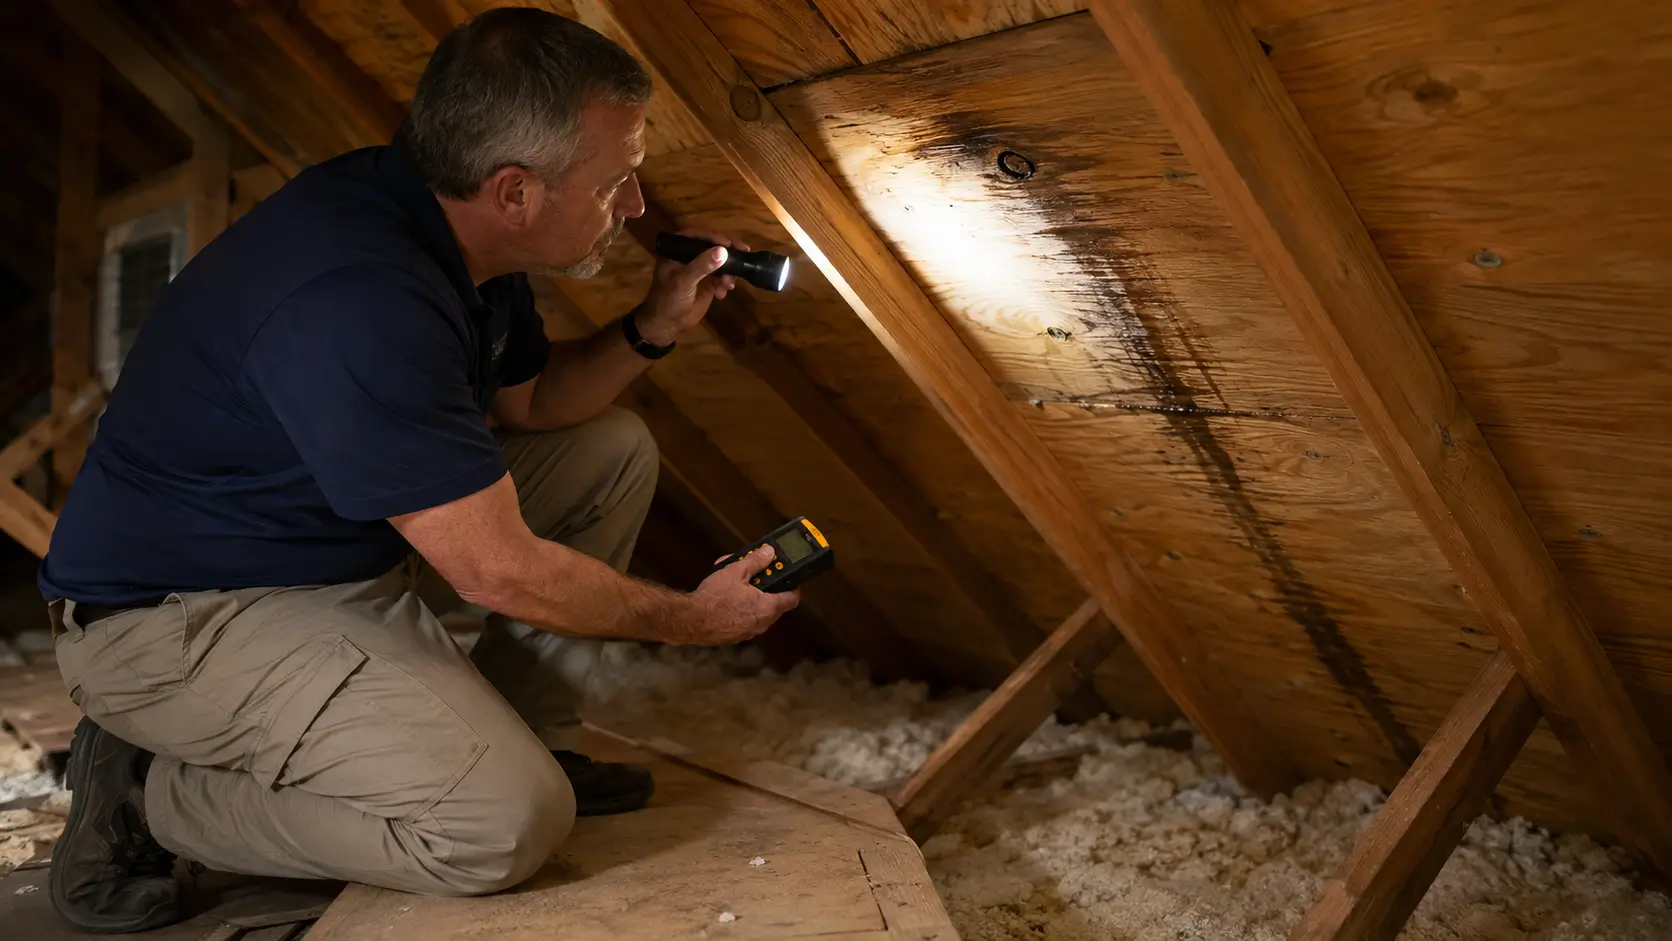
4. Inspect the Attic for Hidden Roof Leaks
The attic can reveal problems before stains reach finished ceilings. With safe access and good lighting, inspect the underside of decking, rafters, trusses, vents, and insulation.
Look for:
- Dark or discolored decking
- Water trails below nails or penetrations
- Damp or stained insulation
- Rusted nail tips or metal connectors
- Musty odors or visible microbial growth
- Daylight around unintended openings
- Staining below valleys, vents, chimneys, or wall transitions
A ceiling stain may be several feet from the actual entry point because water can travel along decking, underlayment, framing, pipes, or fasteners before dripping.
5. Look for Structural Warning Signs
From outside, view ridges, hips, eaves, and roof planes as continuous lines. A pronounced dip, wave, or sag can indicate deteriorated decking, framing movement, excessive moisture, or another structural issue.
Inside the attic, do not cut, drill, move, or “test” trusses. Document obvious cracks, separated connections, displaced bracing, bowed decking, or areas where the roof surface appears to deflect, then arrange professional evaluation.
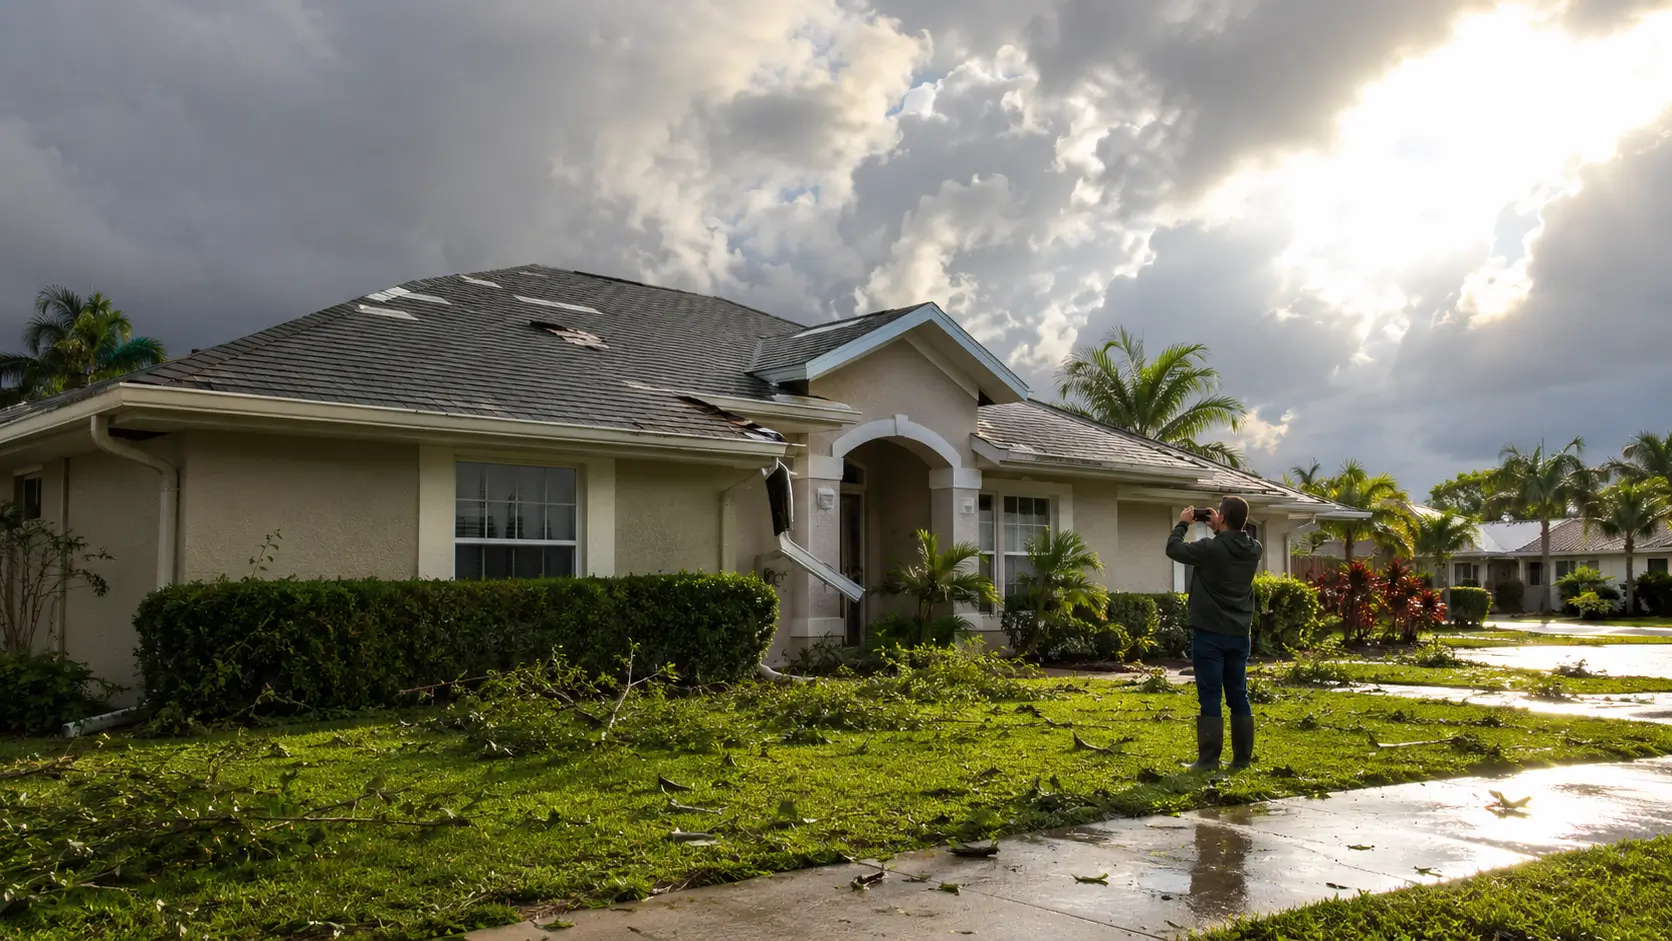
6. Use a Post-Storm Roof Inspection Checklist
After severe weather, inspect the property once conditions are safe. Check for:
- Missing, lifted, or creased shingles
- Broken or displaced roof tiles
- Dented vents, flashing, or metal panels
- Loose ridge or hip caps
- Fallen limbs or impact marks
- Exposed underlayment or roof decking
- Detached gutters, fascia, or soffits
- New ceiling stains, dripping, or wet insulation
Photograph damage before cleanup whenever practical, including wide shots and close-ups. If the roof is exposed, prioritize temporary protection and a storm damage roof assessment rather than climbing onto a compromised roof.
7. Separate Maintenance Issues From Repair Issues
Debris in gutters, small branches touching the roof, and leaves collecting in valleys may be maintenance issues if no damage is present. Missing shingles, cracked tiles, open flashing, damaged pipe boots, exposed underlayment, wet decking, or recurring leaks require repair evaluation.
A localized defect does not automatically mean the entire roof needs replacement. A qualified roofer should identify the failure point, determine how far damage extends, and explain whether a targeted roof repair is appropriate.
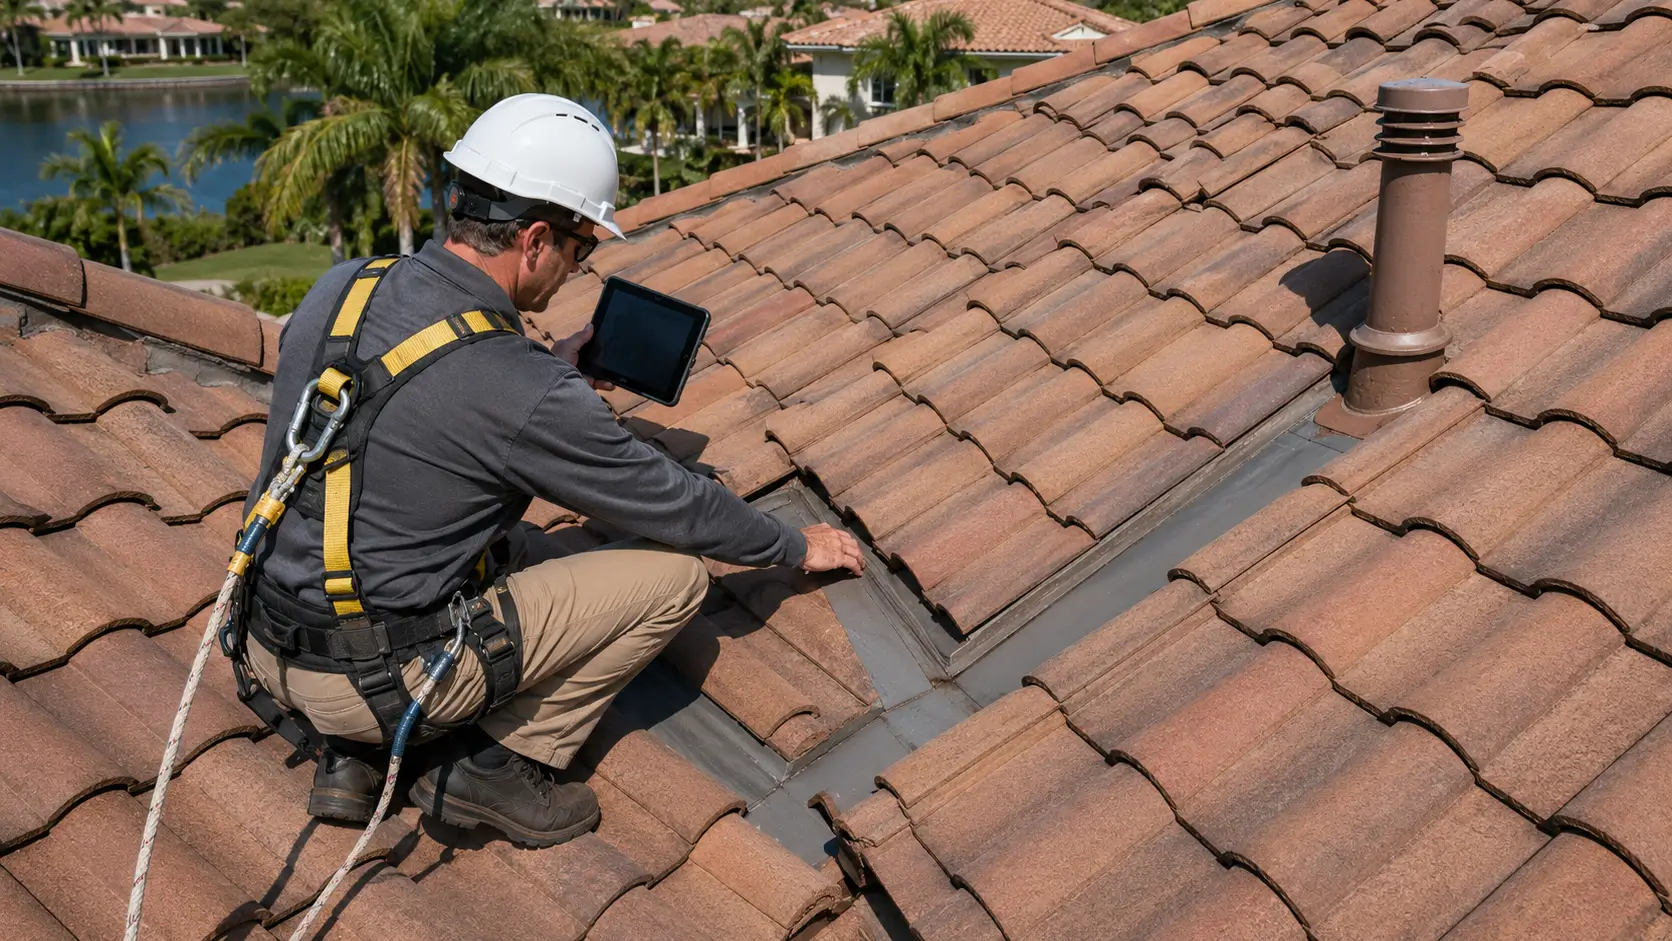
8. What a Professional Roof Inspection Should Cover
A complete inspection should connect exterior conditions with attic and interior evidence. We expect the evaluation to address roof covering condition, flashing, penetrations, valleys, roof edges, drainage, visible decking, ventilation, storm impacts, previous repairs, and signs of active or historic moisture.
The report should identify defect locations and severity, include photographs when useful, distinguish urgent issues from monitor-only conditions, and provide clear next steps. A detailed inspection should help homeowners understand whether damage is localized, widespread, active, or related primarily to normal material aging.
Roof Inspection Red Flags That Need Prompt Attention
Arrange professional evaluation quickly if you find active water entry, significant sagging, exposed roof decking, widespread missing shingles or tiles, detached flashing, a punctured roof surface, tree impact, wet attic insulation, or recurring stains after rain.
For unexplained leaks, do not repeatedly add caulk without locating the entry path. Water often travels beneath roofing materials, so sealing the wrong location can hide symptoms without correcting the defect.
Keep a Roof Condition Record
Store dated photos, inspection reports, repair invoices, warranty documents, and storm notes together. Photograph the same roof areas during future checks so you can tell whether a crack, stain, fastener, or lifted edge is new, stable, or worsening.
CONCLUSION
A strong roof inspection checklist gives homeowners a repeatable way to monitor the entire roofing system, from shingles and flashing to soffits, attic moisture, and structural warning signs. We recommend documenting changes, avoiding unsafe roof access, and treating active leaks or storm damage as time-sensitive. When the condition is uncertain, contact Steadfast Roofing for a detailed inspection and clear recommendations based on what the roof actually needs.
FAQ
What should be included in a homeowner roof inspection checklist?
A homeowner checklist should cover the roof surface, ridges and hips, flashing, valleys, vents, pipe boots, skylights, gutters, drip edge, fascia, soffits, attic decking, insulation, ventilation, and interior water stains. It should also document post-storm changes.
How can I inspect my roof without climbing on it?
Use binoculars or a zoom camera from several ground-level positions, inspect accessible roof edges safely, and check the attic for water staining, wet insulation, or damaged decking. If the roof surface cannot be evaluated safely, schedule a professional inspection.
When should I call a roofer after an inspection?
Call a roofer when you find an active leak, missing or displaced roofing materials, damaged flashing, exposed underlayment or decking, sagging, storm impact, wet attic materials, or a recurring stain whose source is unclear.